Software Description
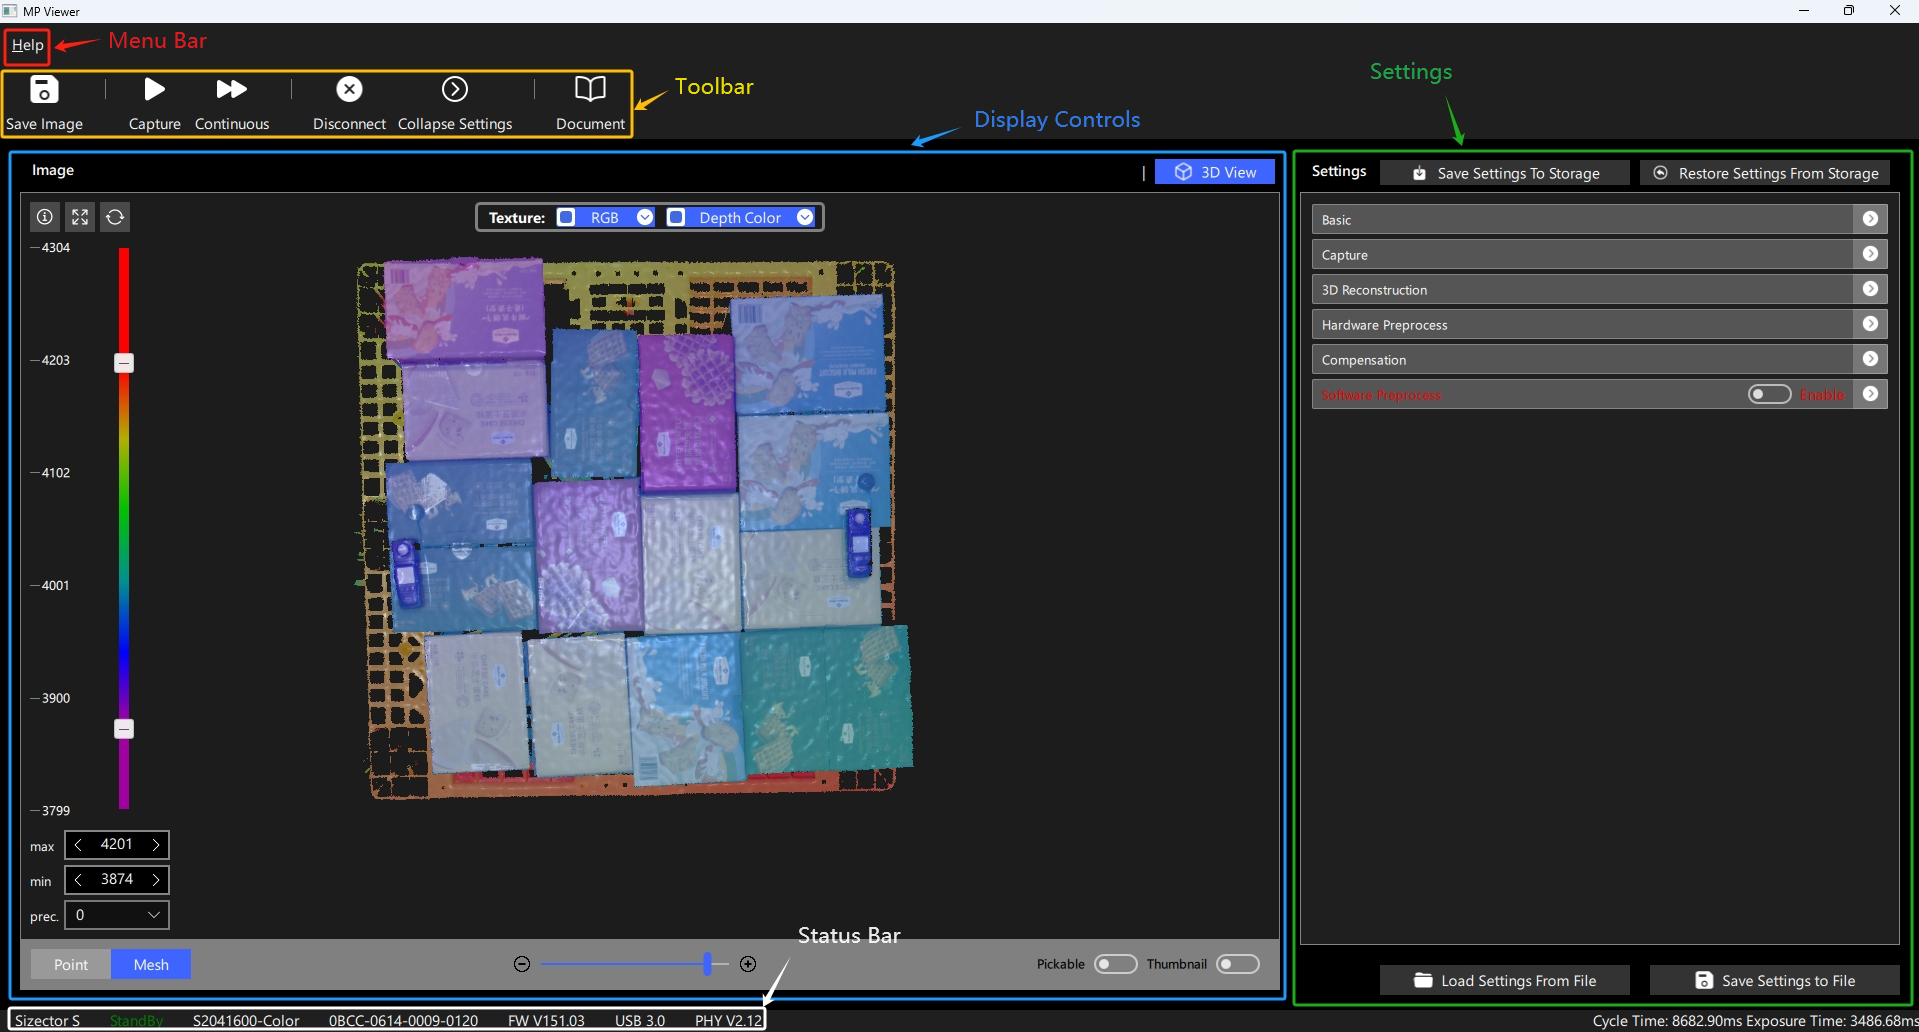
The main functional areas of the MPViewer software are as follows:
- Menu Bar: Help's Dump option allows collection of on-site data for imaging analysis; About - describes the software version information.
- Toolbar: Connect or disconnect devices; control camera for single or continuous shooting; save data as a file; expand or collapse the settings page (expands the display controls when using monitors with lower resolutions).
- Display Controls: Supports displaying data returned from the camera, available in 2D and 3D modes, where 2D mode supports mixing depth colormap with grayscale or RGB images; 3D mode supports setting point cloud texture as depth colormap, grayscale image, or RGB image.
- Settings: Supports adjusting camera settings to achieve target imaging effects; supports writing current edited settings into the camera; supports abandoning current edits and restoring the camera's default settings; supports saving settings as a file or loading settings from a file.
- Status Bar: Displays the camera's status, model, serial number, firmware version, USB connection status, and USB firmware version.
Menu Bar
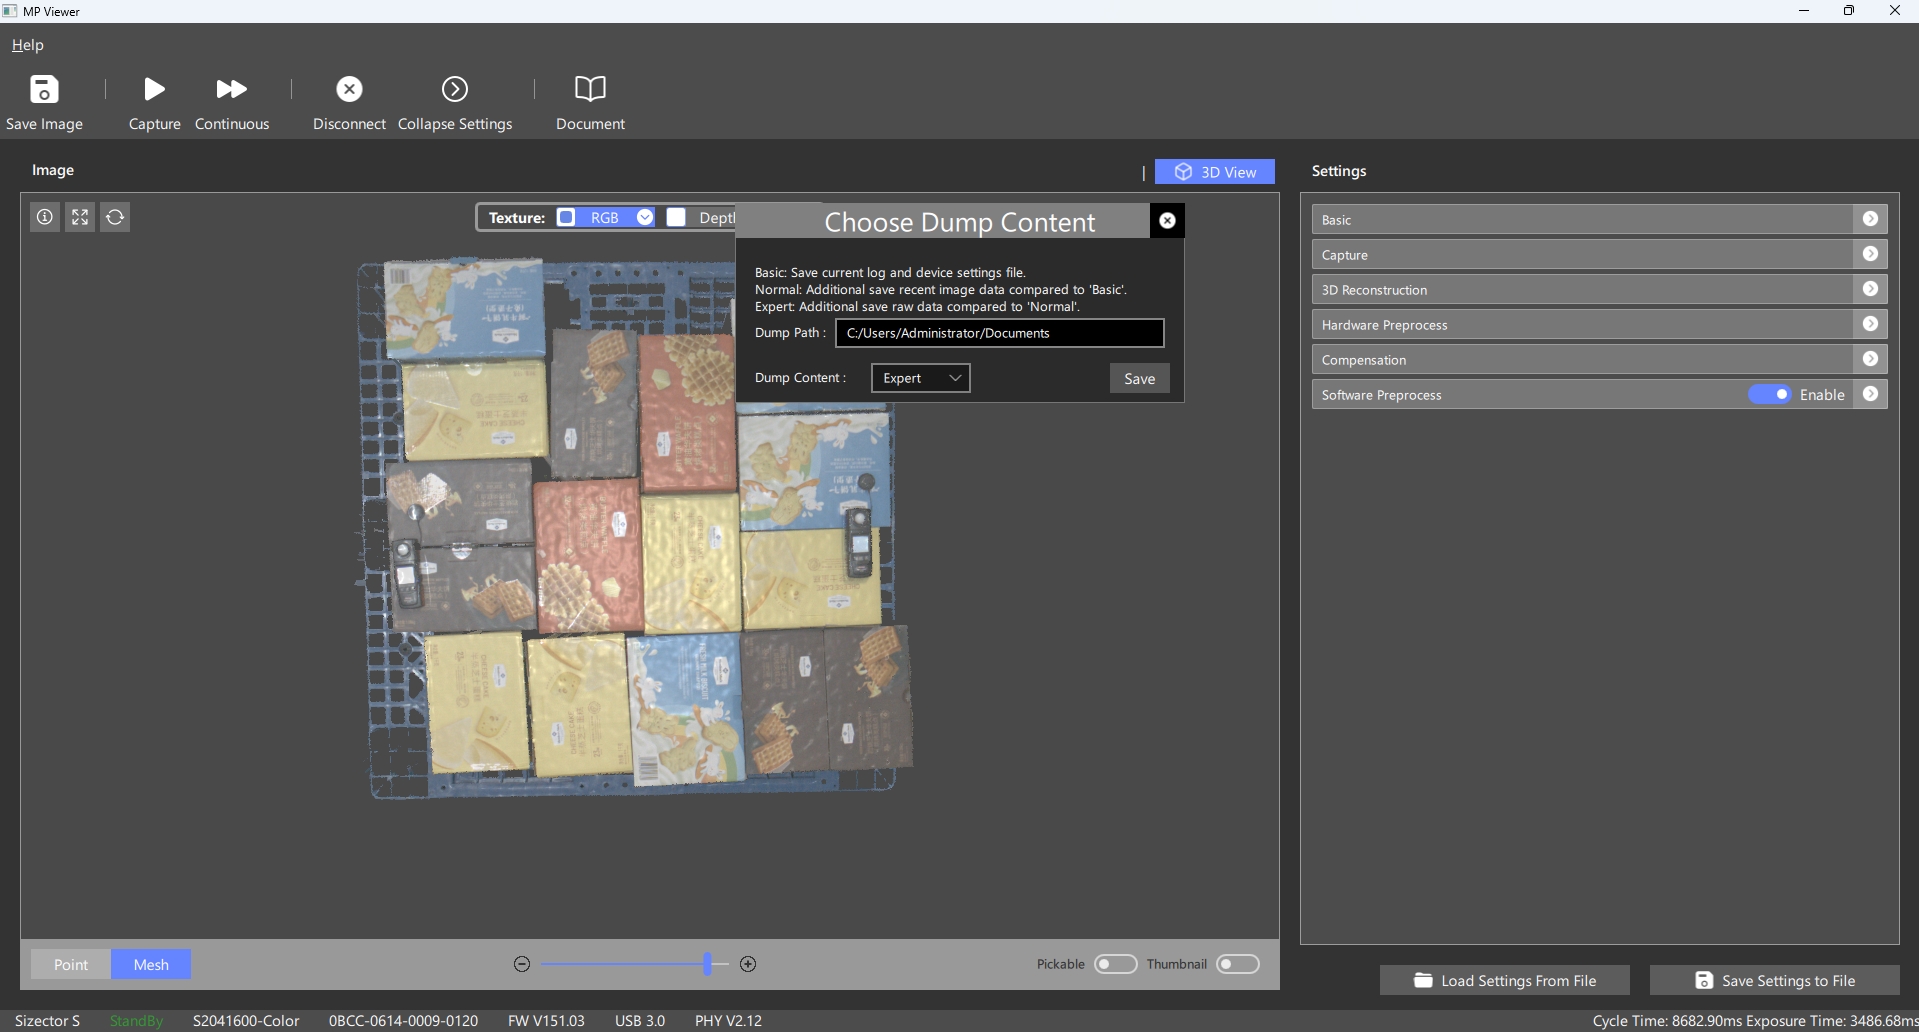
1. Export (Dump)
The Export (Dump) feature allows saving data for debugging at selected levels, with three different levels of data content available:
- Basic: Camera log MPSizectorS_Log_xxxxxxxxx.log, camera settings Settings.mpset, plane calibration parameters CorrectParam.mpcp
- Standard: In addition to the basic data, it includes data from the camera buffer 0.mpdat-xx.mpdat (starting from viewer version 1.1.11, dumping clears the current camera buffer to avoid saving duplicate data next time)
- Expert: On top of the standard data, it includes the raw data Raw.mpdat from the last frame before reconstruction, camera factory settings FactorySettings.mpfset, and camera calibration parameters CalibParam.mpcalib
Dump exports three different levels of data locally, which can be used for camera operation anomaly analysis and imaging optimization analysis.

Toolbar
1. Connect or Switch Device
Supports selecting real camera devices for data collection, or selecting local data to construct an offline camera for testing software preprocessing effects;
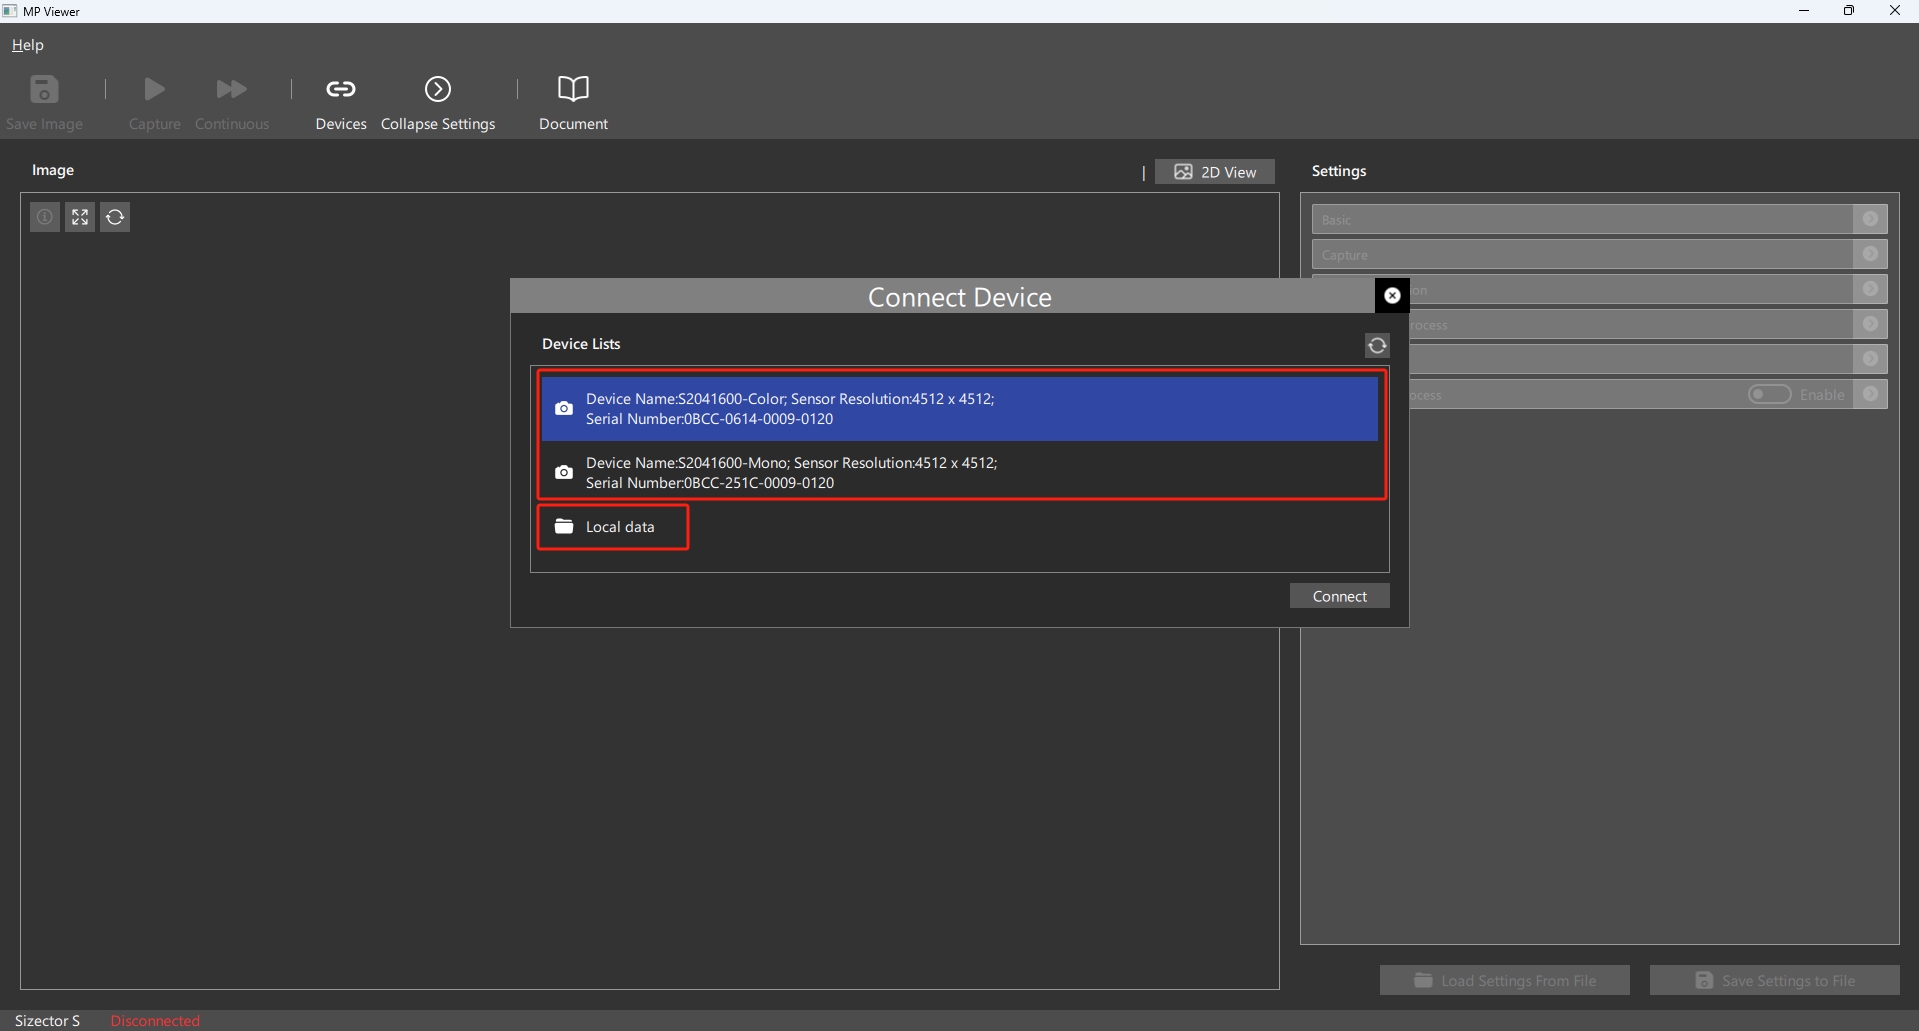
1.1 Real Camera
Select the target device from the device list based on the device information. When selecting a real camera, adjust the shooting parameters according to the subject for optimal shooting results; specific adjustment methods refer to: Basic Settings, Capture Settings, 3D Reconstruction Settings, Hardware Preprocessing Settings, Compensation Settings, Software Preprocessing Settings . Once the connection is successful, the Connect button turns into a Disconnect button. To switch to another device, you need to disconnect the current device and then go back to the device list page to select the target device.
1.2 Offline Camera
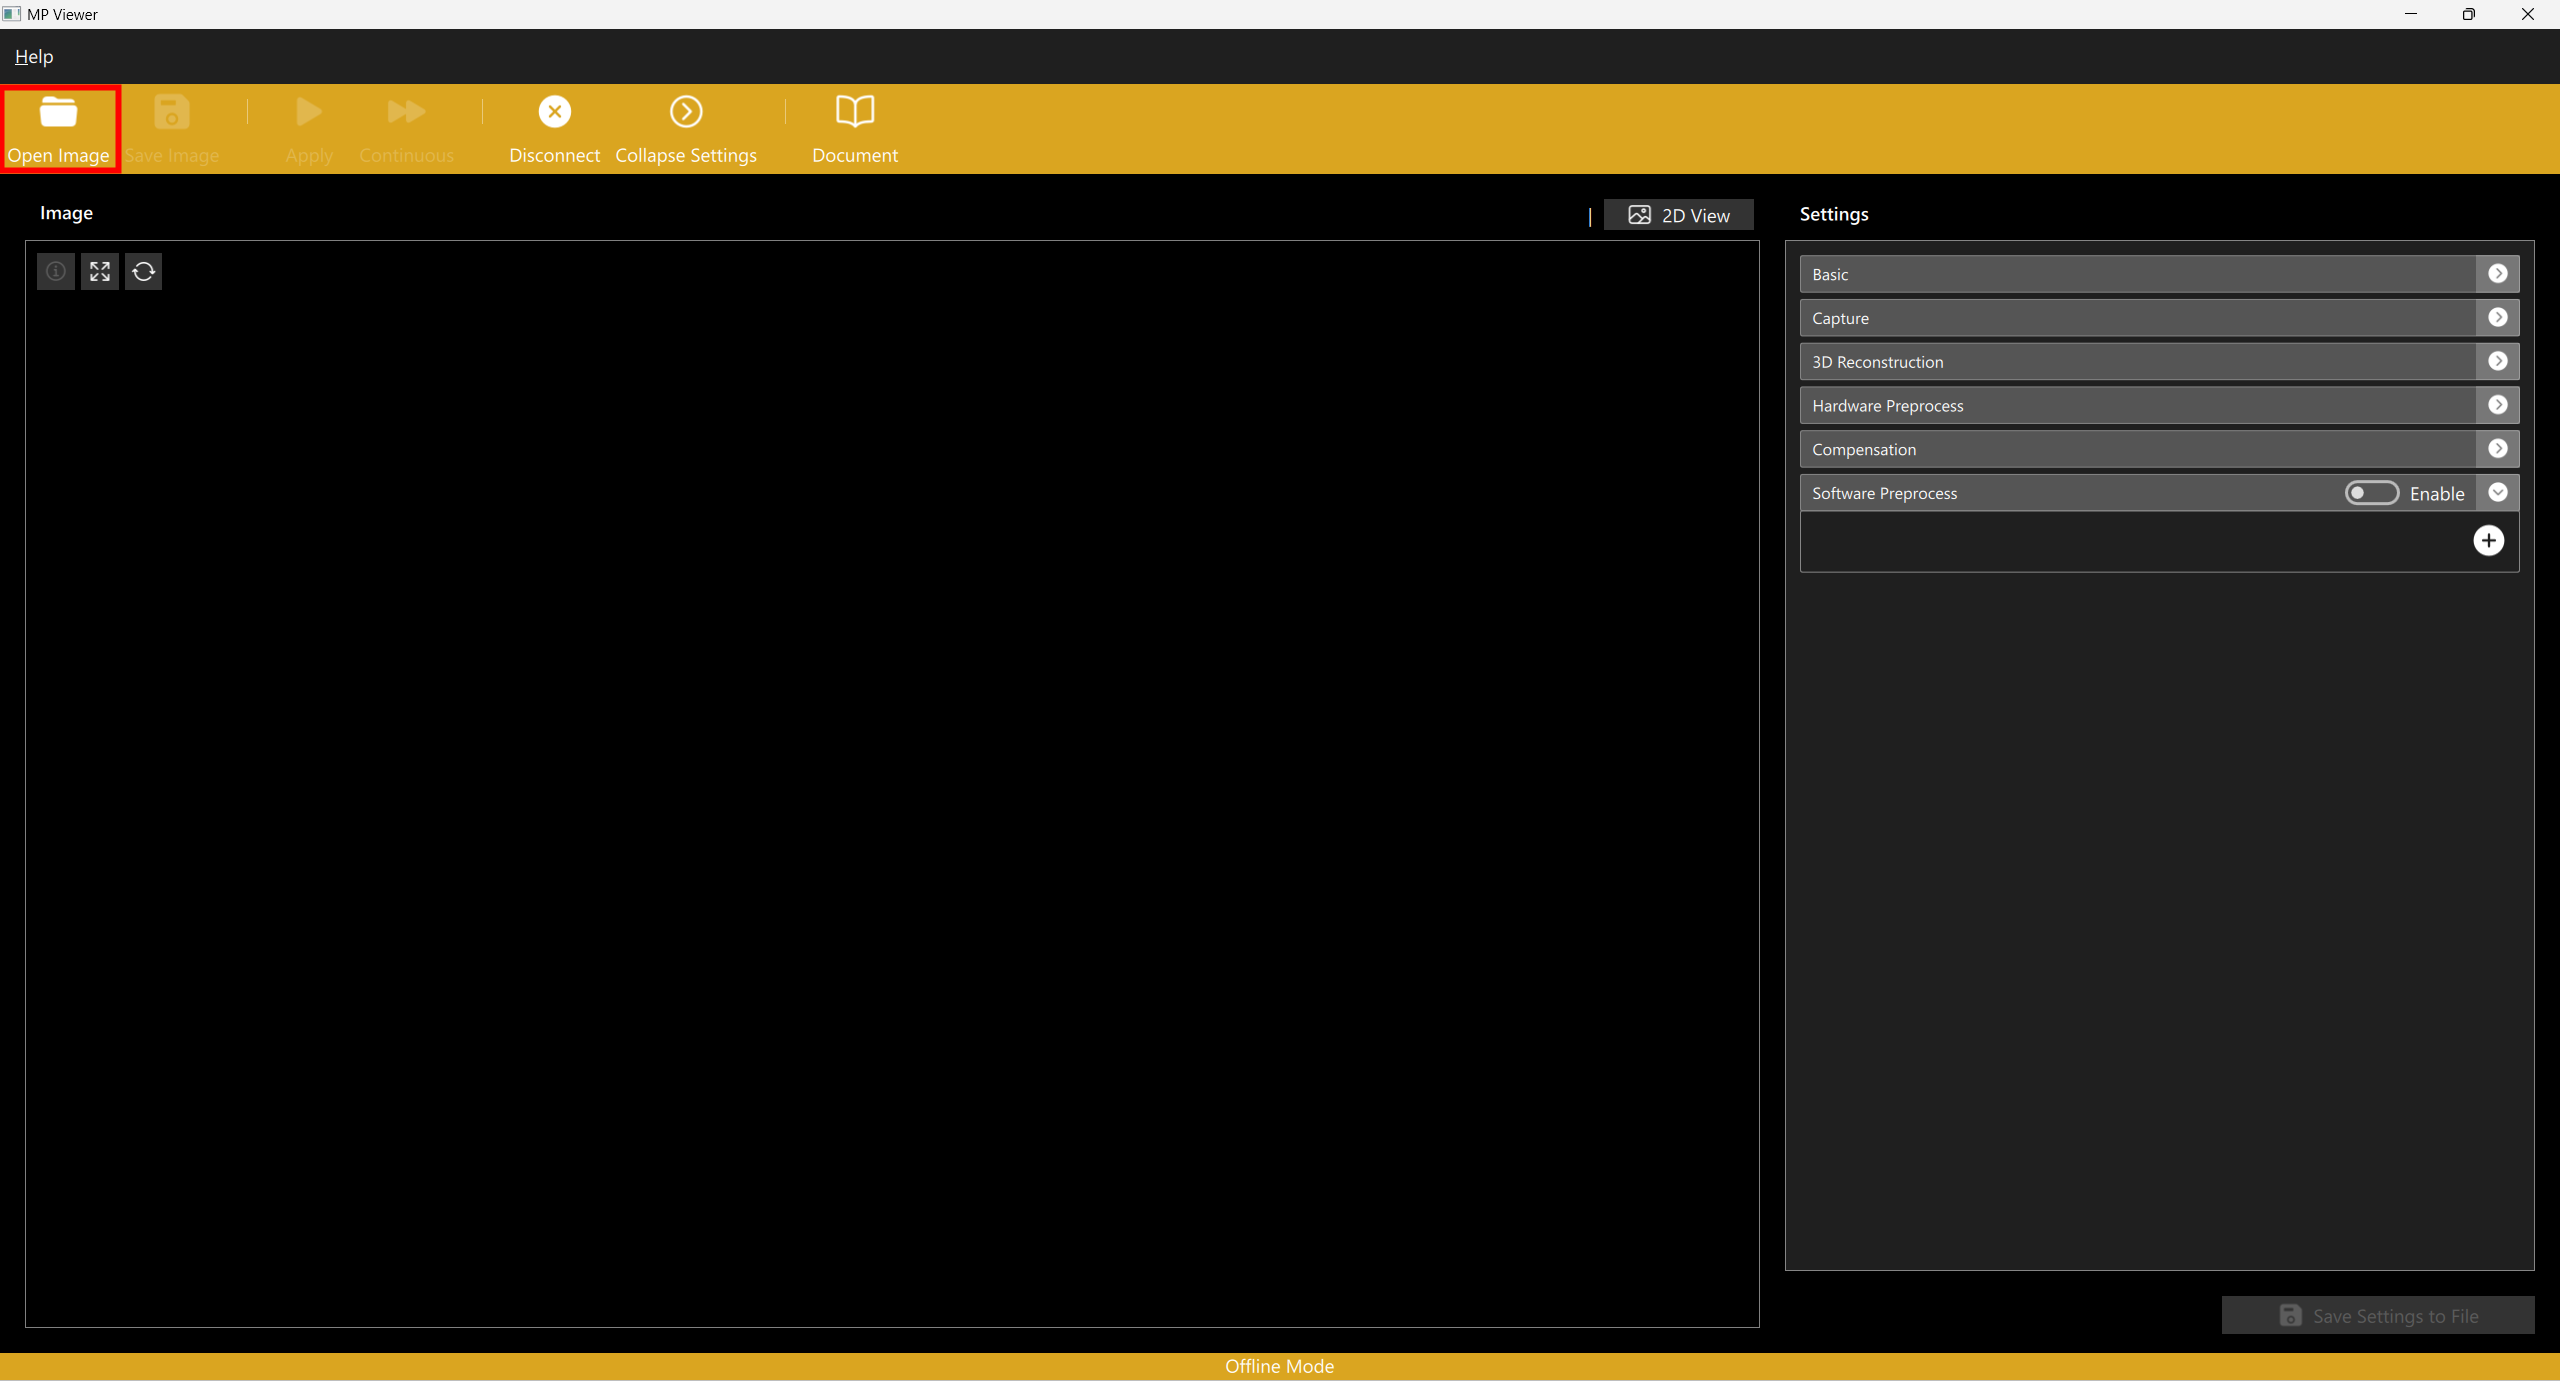
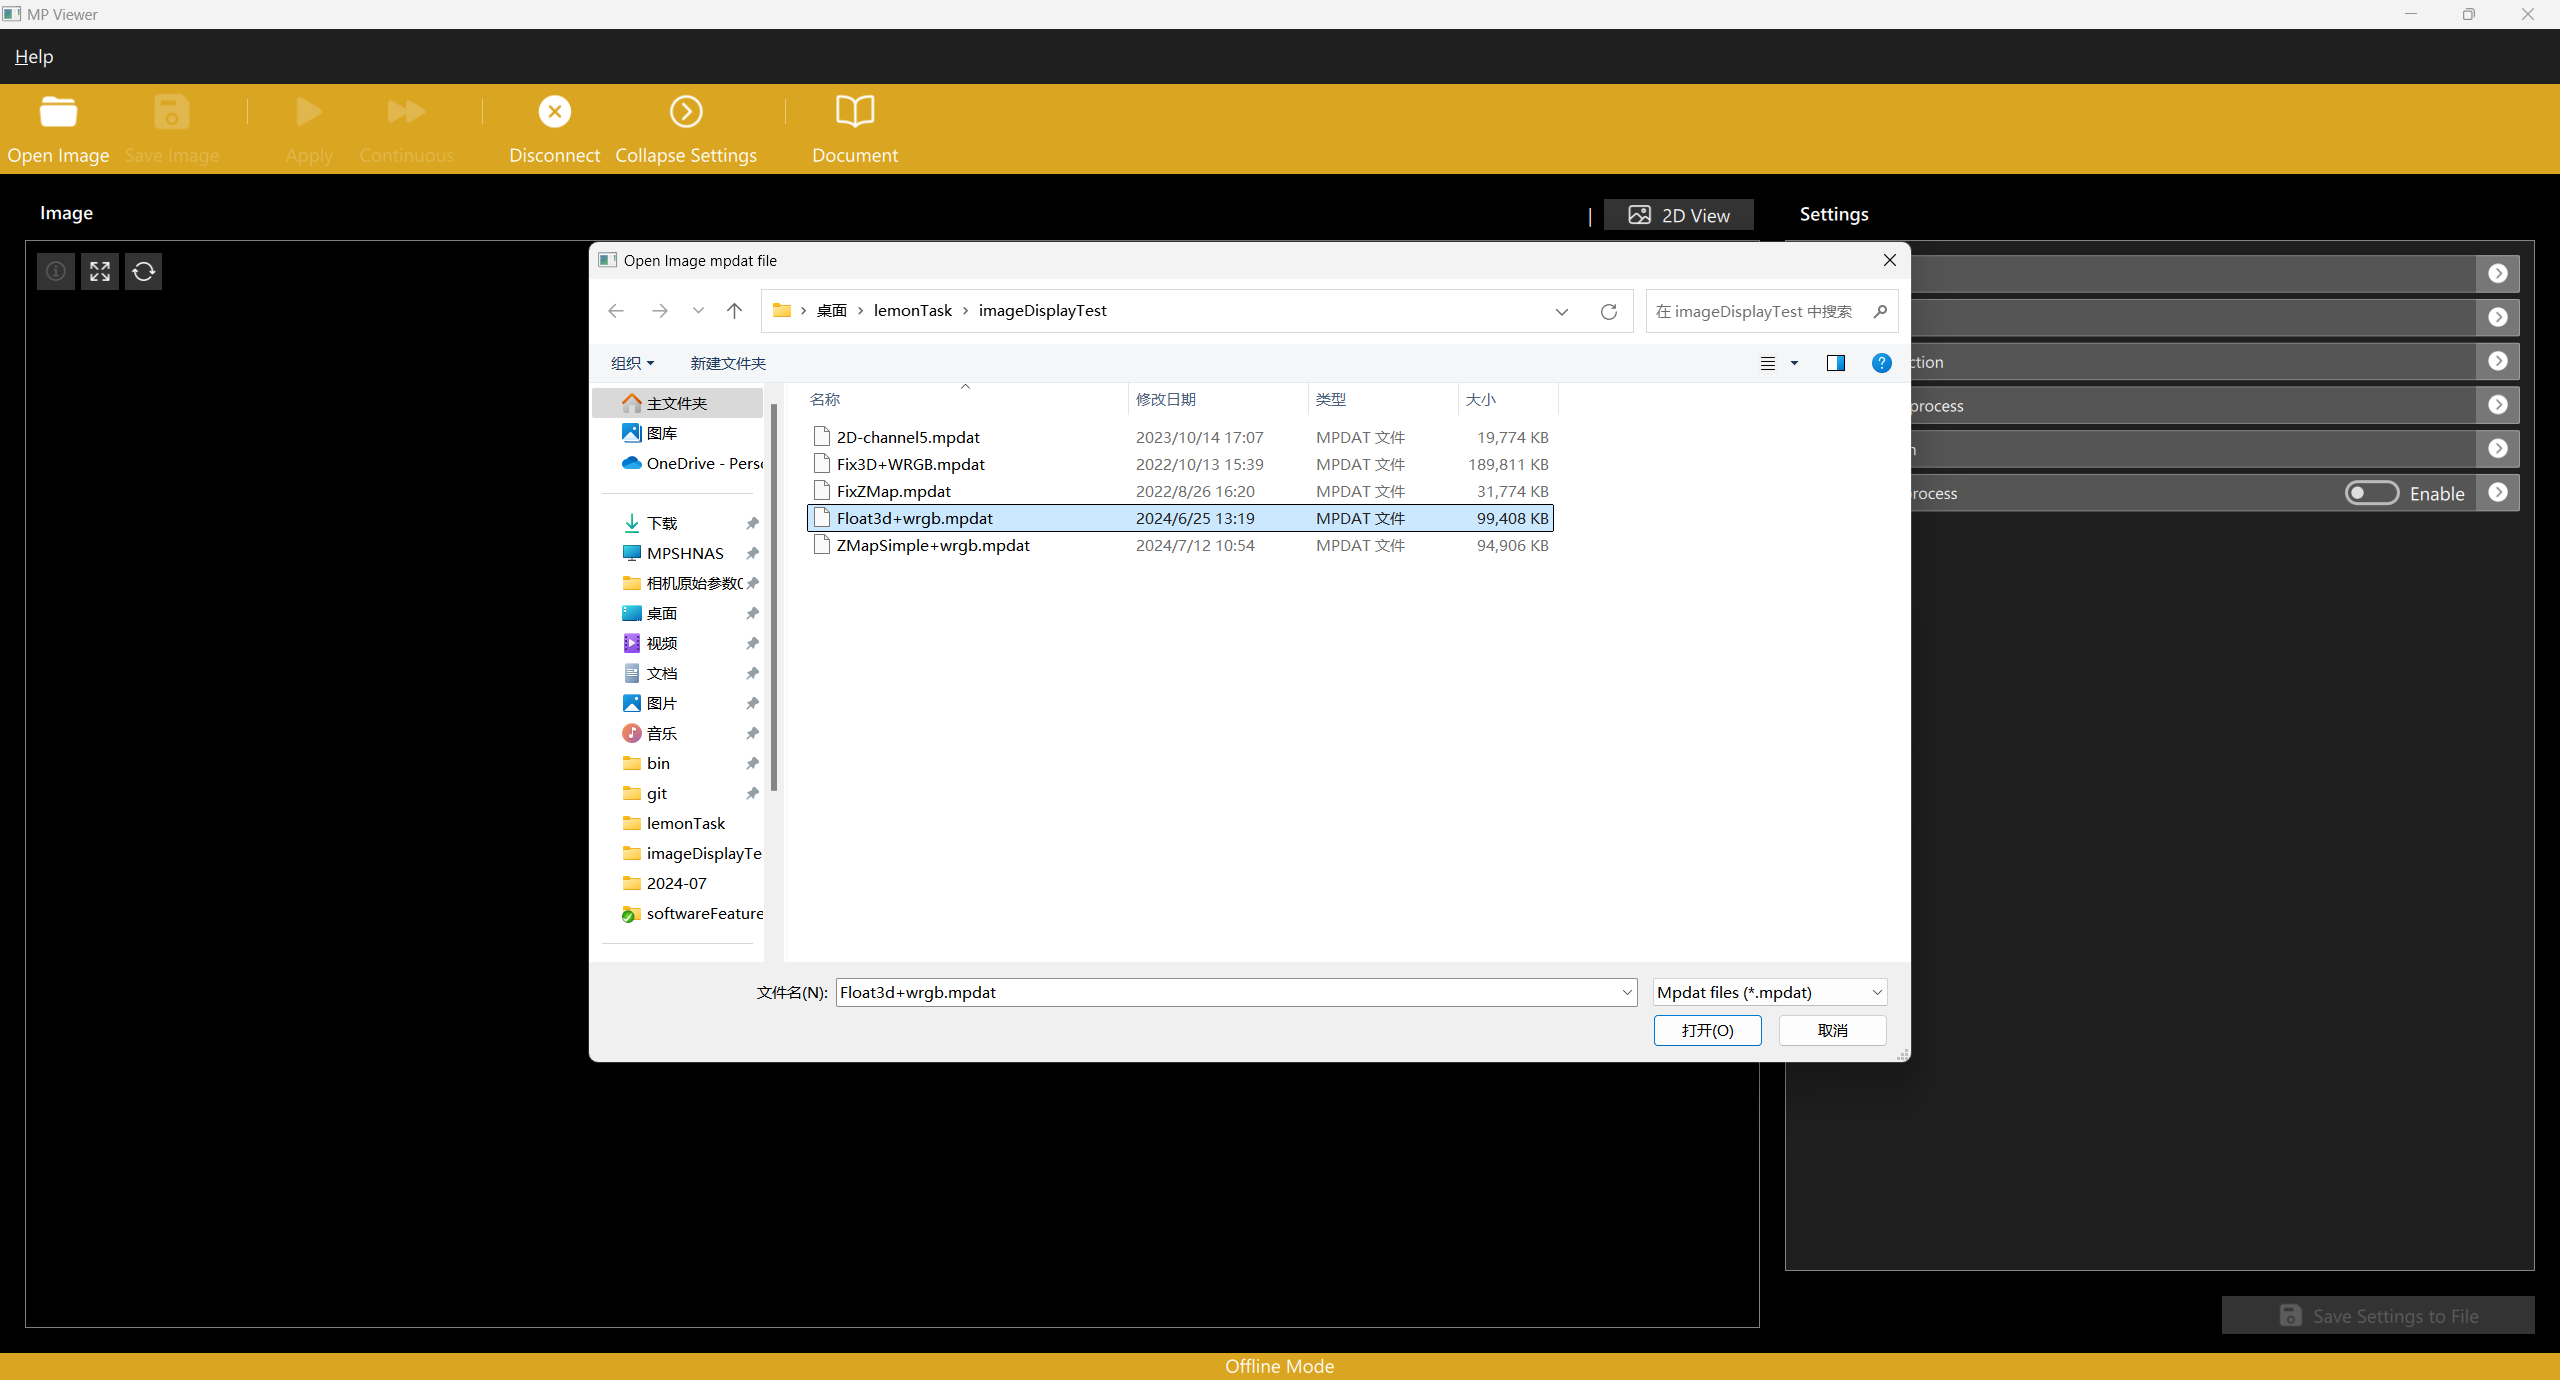
First, select the local data from the device list. Then, click on the Open Image button in the toolbar, choose and load a local data file to construct an offline camera.
After constructing the offline camera, you can view the relevant information of the loaded data by clicking on Frame Information or by expanding the camera settings. The loaded data serves as the data source for software preprocessing, and you can add software preprocessing items to process the data on the software preprocessing page. Clicking the Apply button will display the effect of the loaded data after software preprocessing in the 3D display mode; specific use of software preprocessing refer to: Software Preprocessing Settings
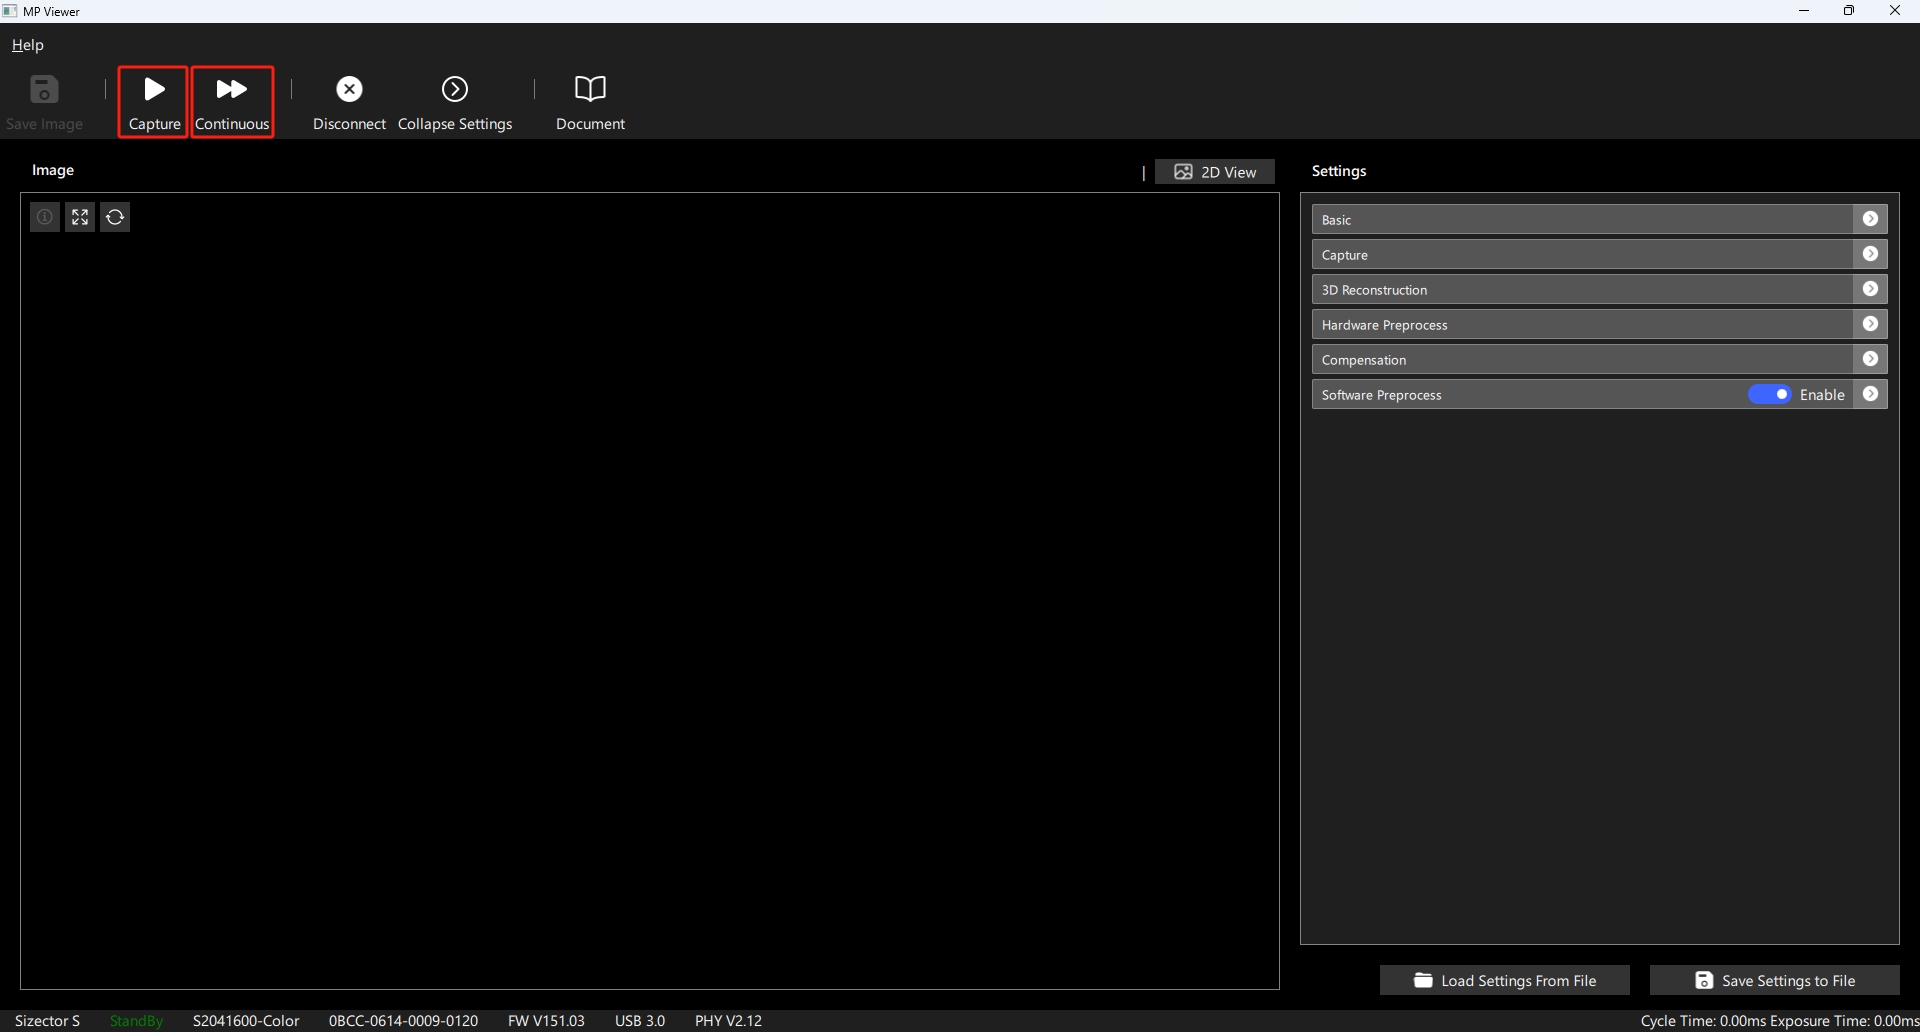
2. Capture or Continuous Operation
After connecting a camera or loading offline data, you can perform single or continuous shooting, corresponding to the Capture and Continuous button functions in the toolbar;
3. Save Data
After capturing data, press the save image button to save the current displayed data as a local file, with three formats available:
- mpdat: When selecting mpdat format, the current displayed image data is saved as a camera data file, which can be loaded in offline mode.
- bmp: Saves the current displayed 2D snapshot as a bmp format picture.
- png: Saves the current displayed 2D snapshot as a png format picture.
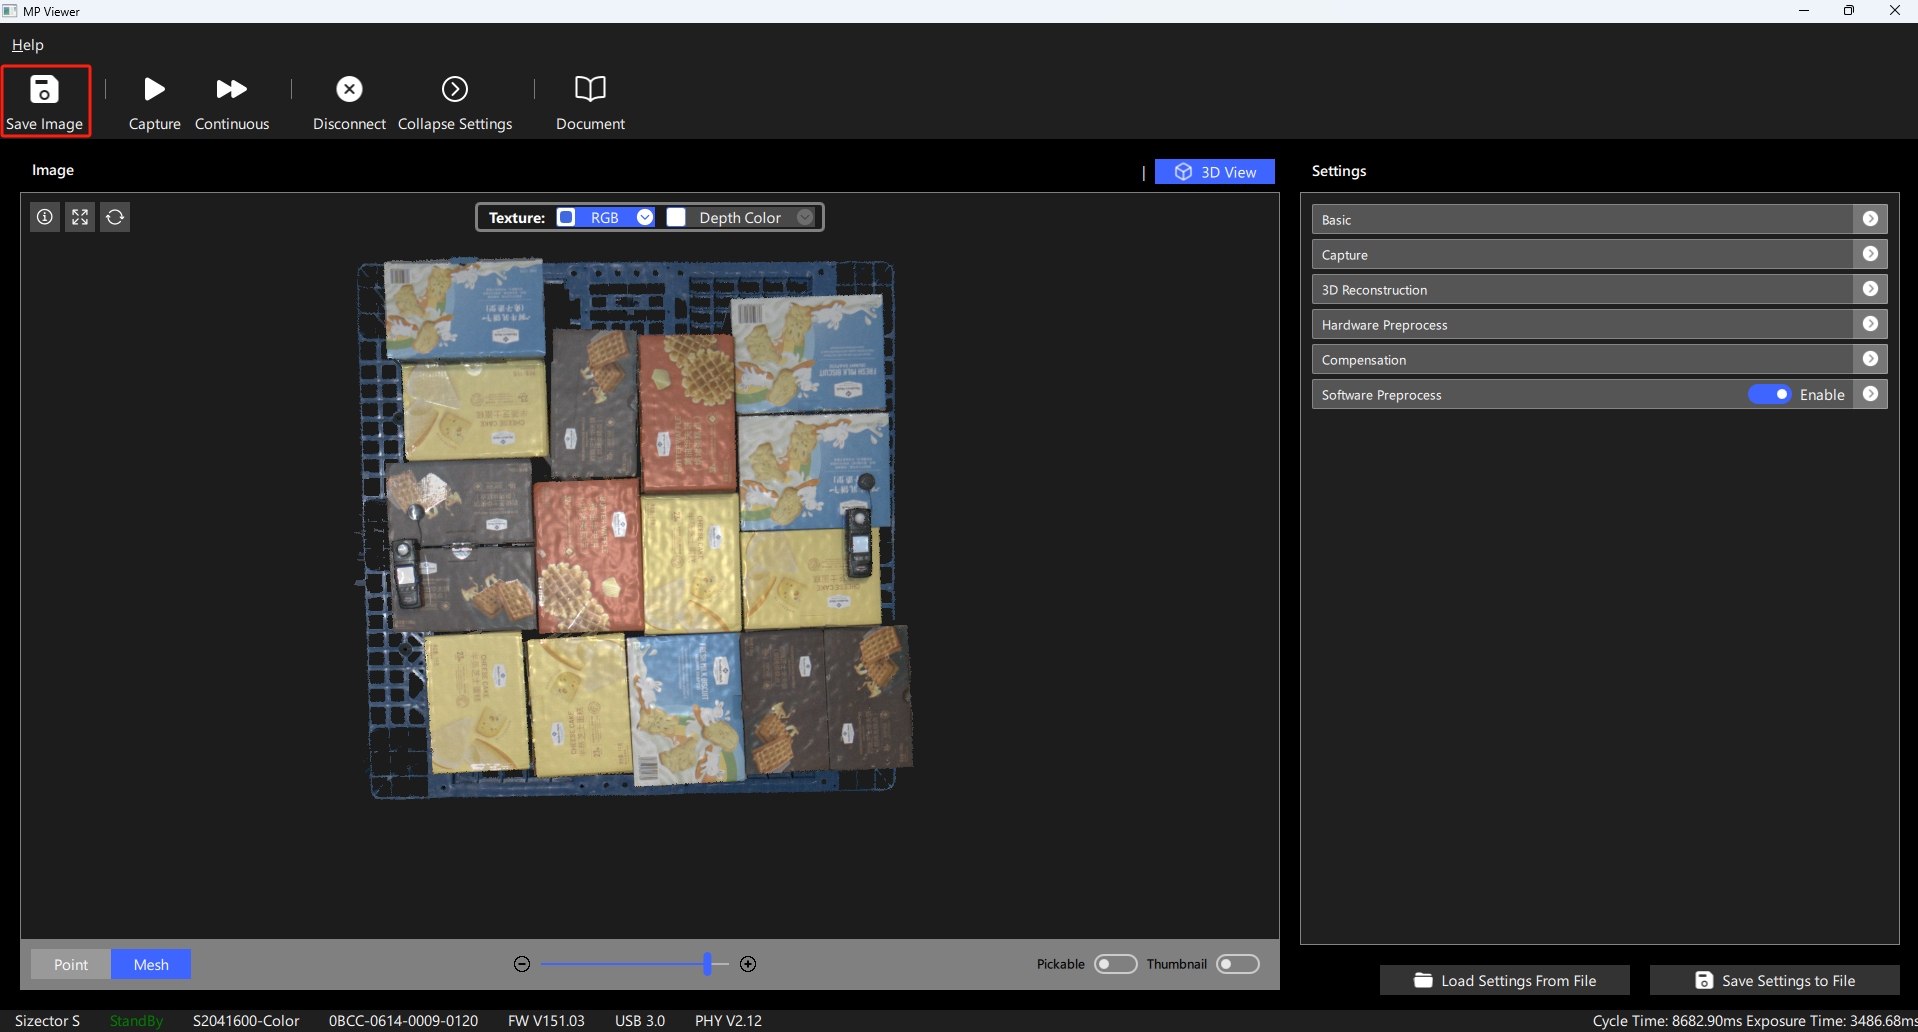
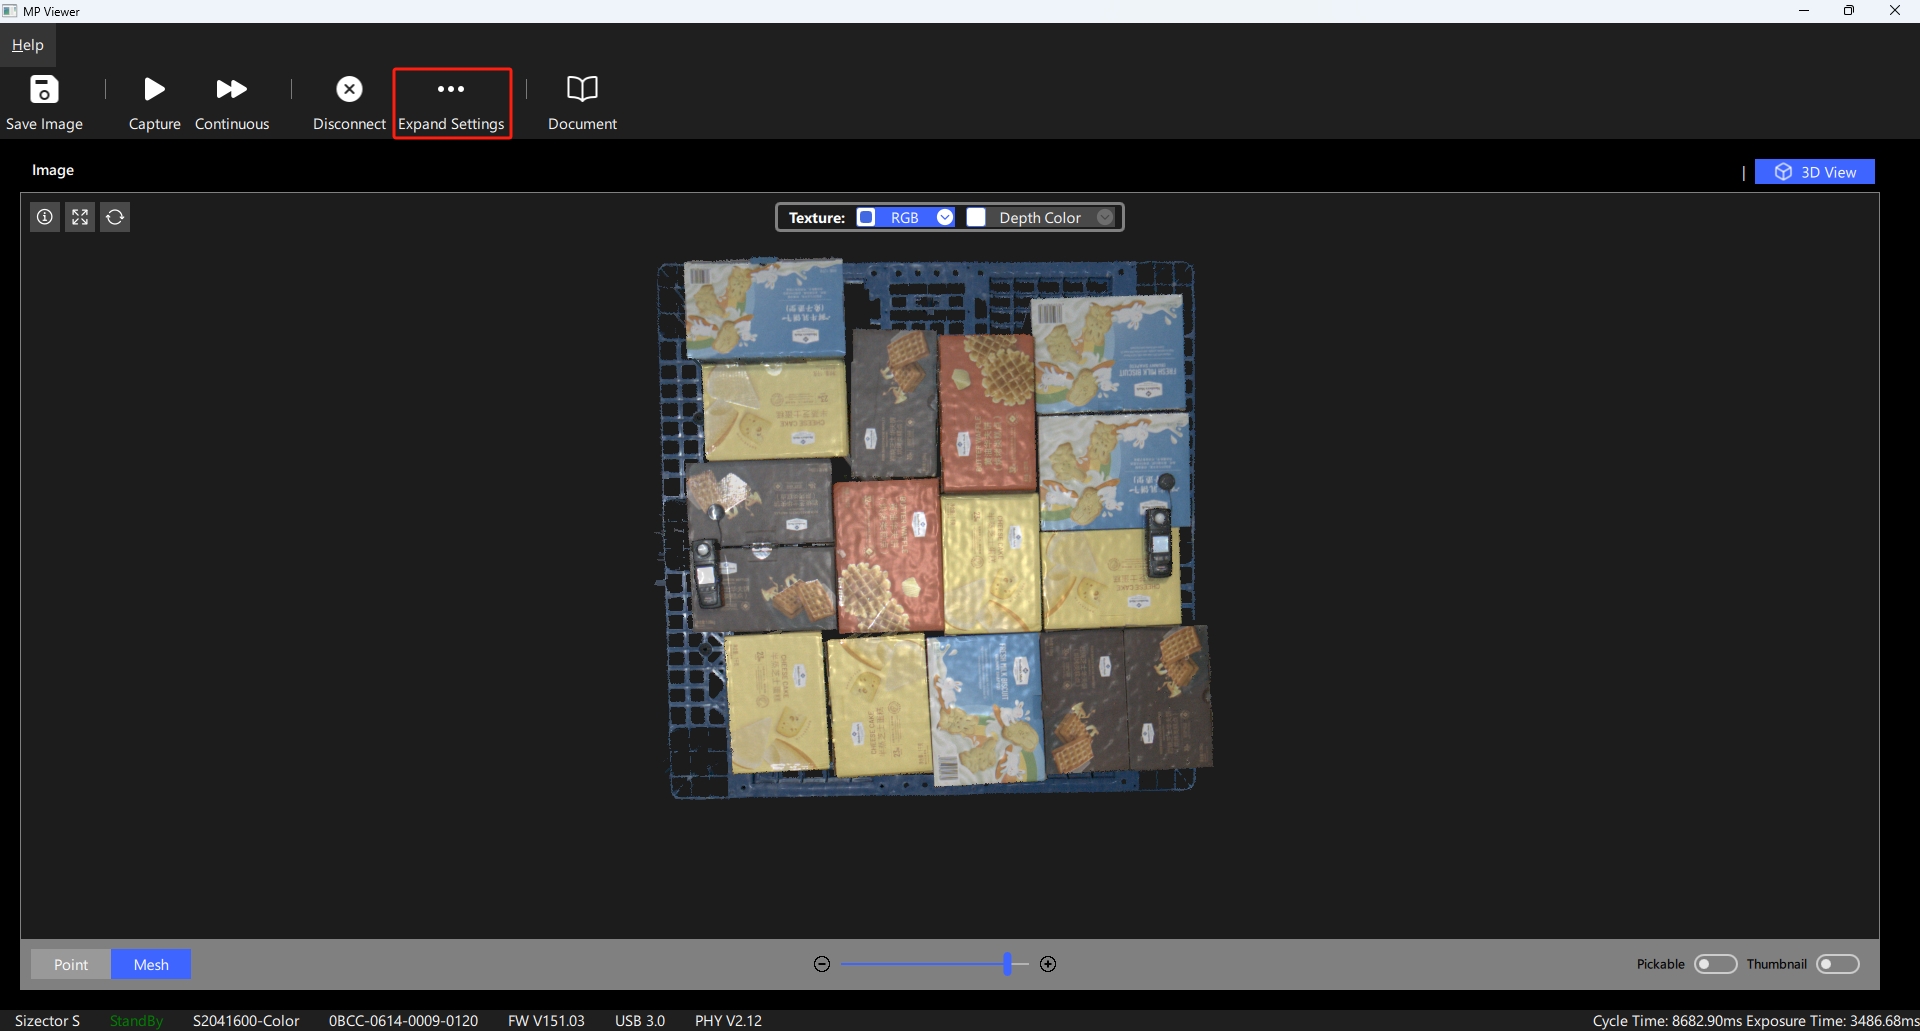
4. Collapse or Expand Settings Page
When running the software on a low-resolution screen, after completing camera settings adjustments, collapse the settings page to gain a larger image display area;

Display Controls
1. 2D/3D Rendering
Display controls support two display modes, 2D and 3D.
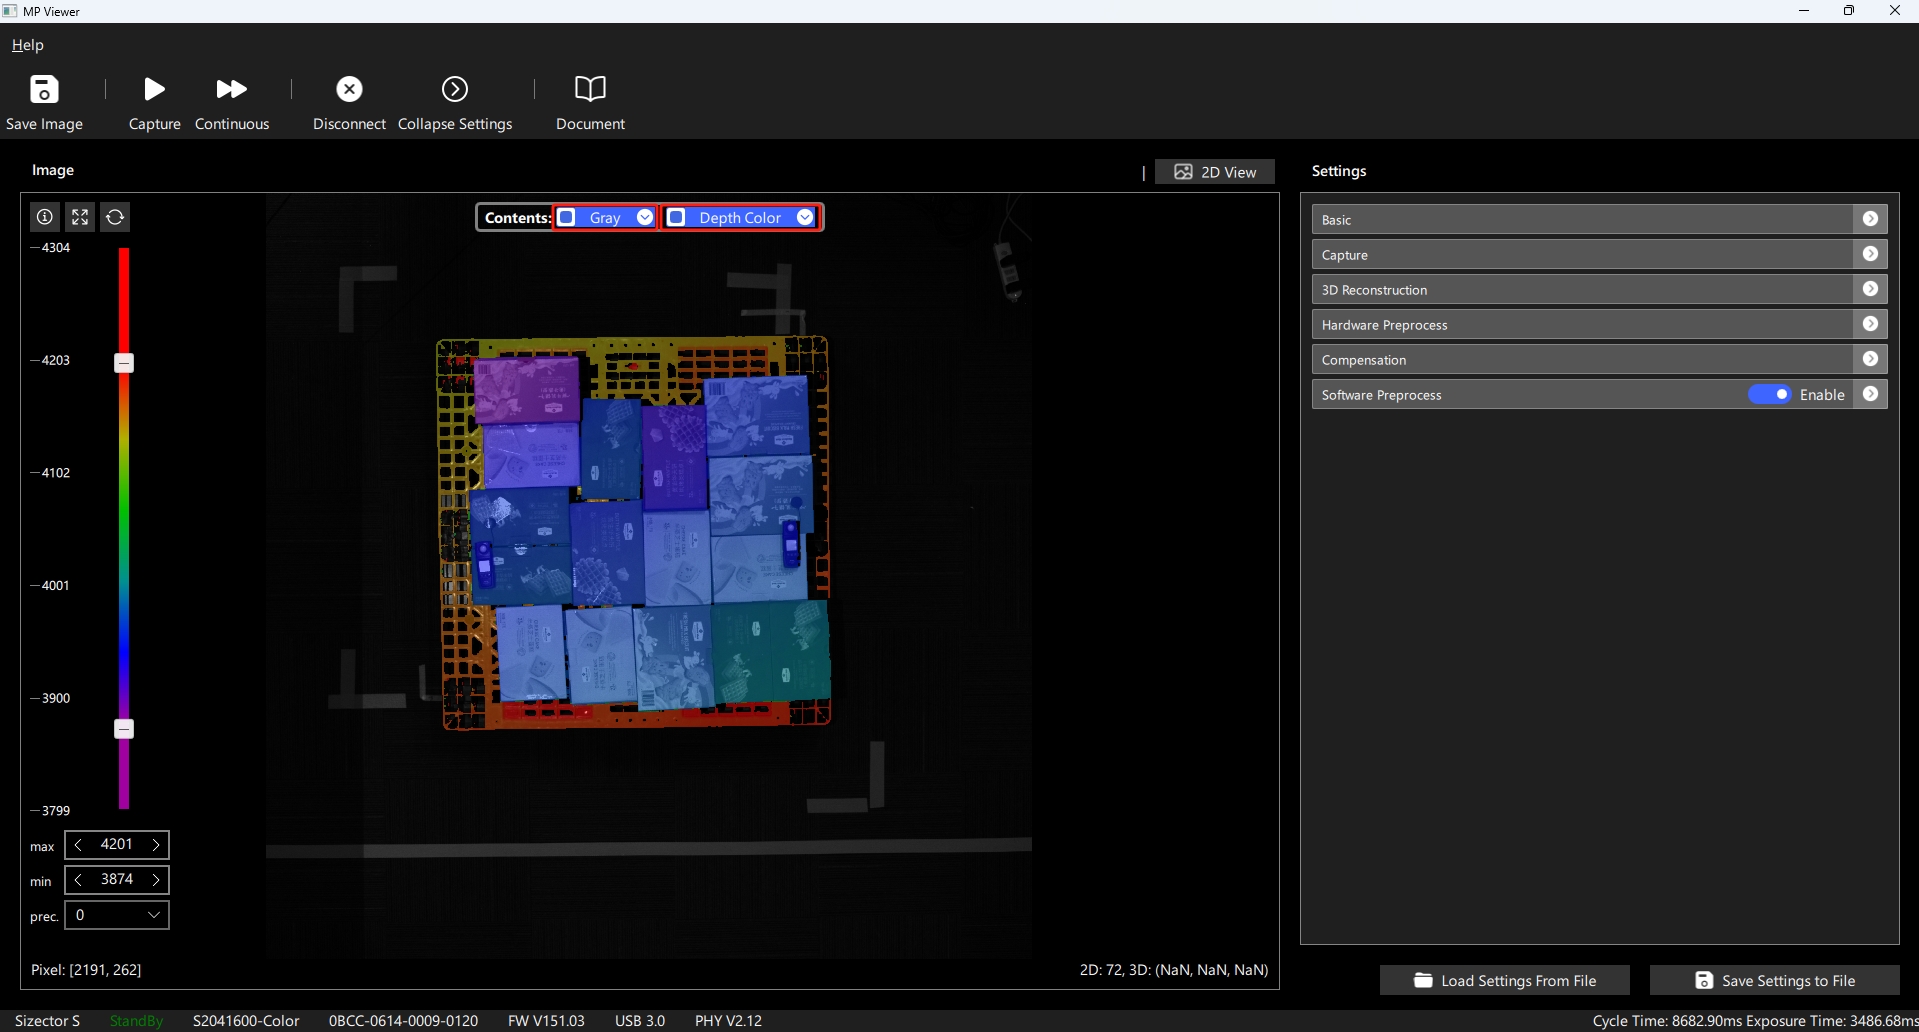
In 2D Display Mode, supports displaying single-channel grayscale images and externally exposed RGB images; when the data contains 3D data, supports mixing 2D data with depth colormap data;
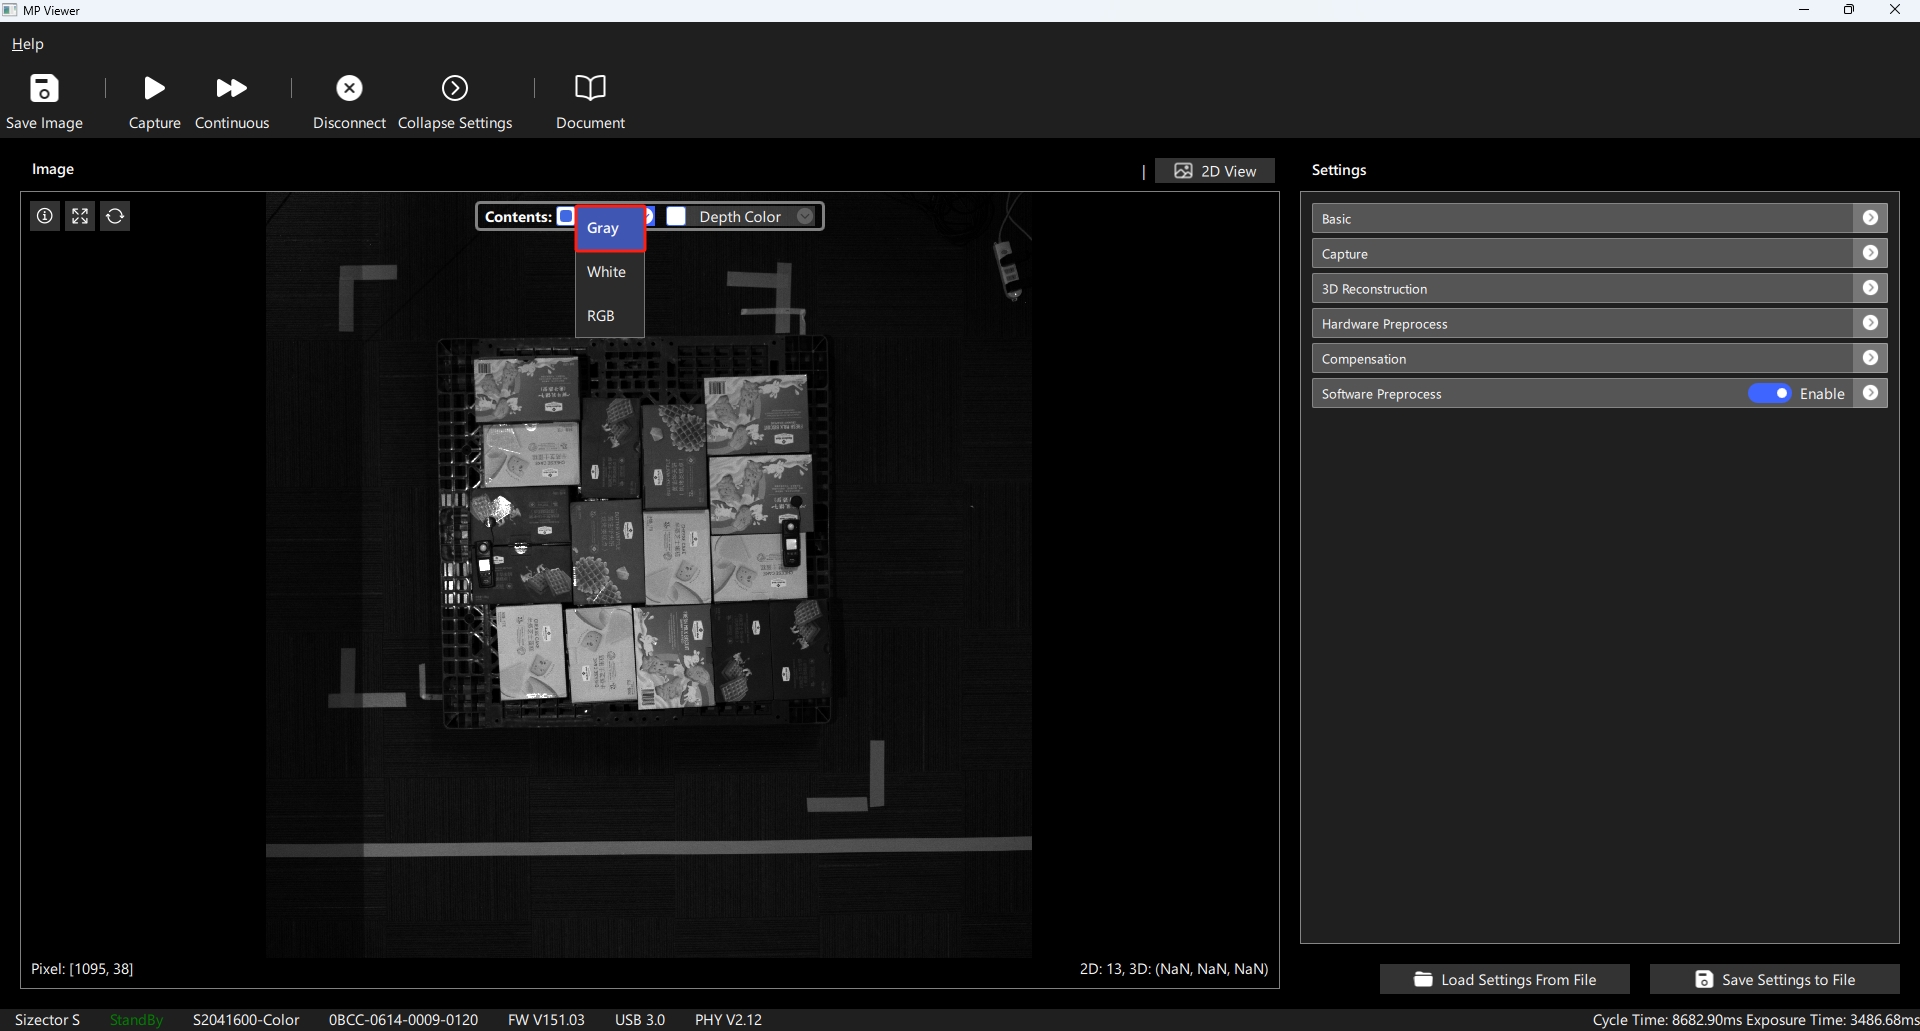 | 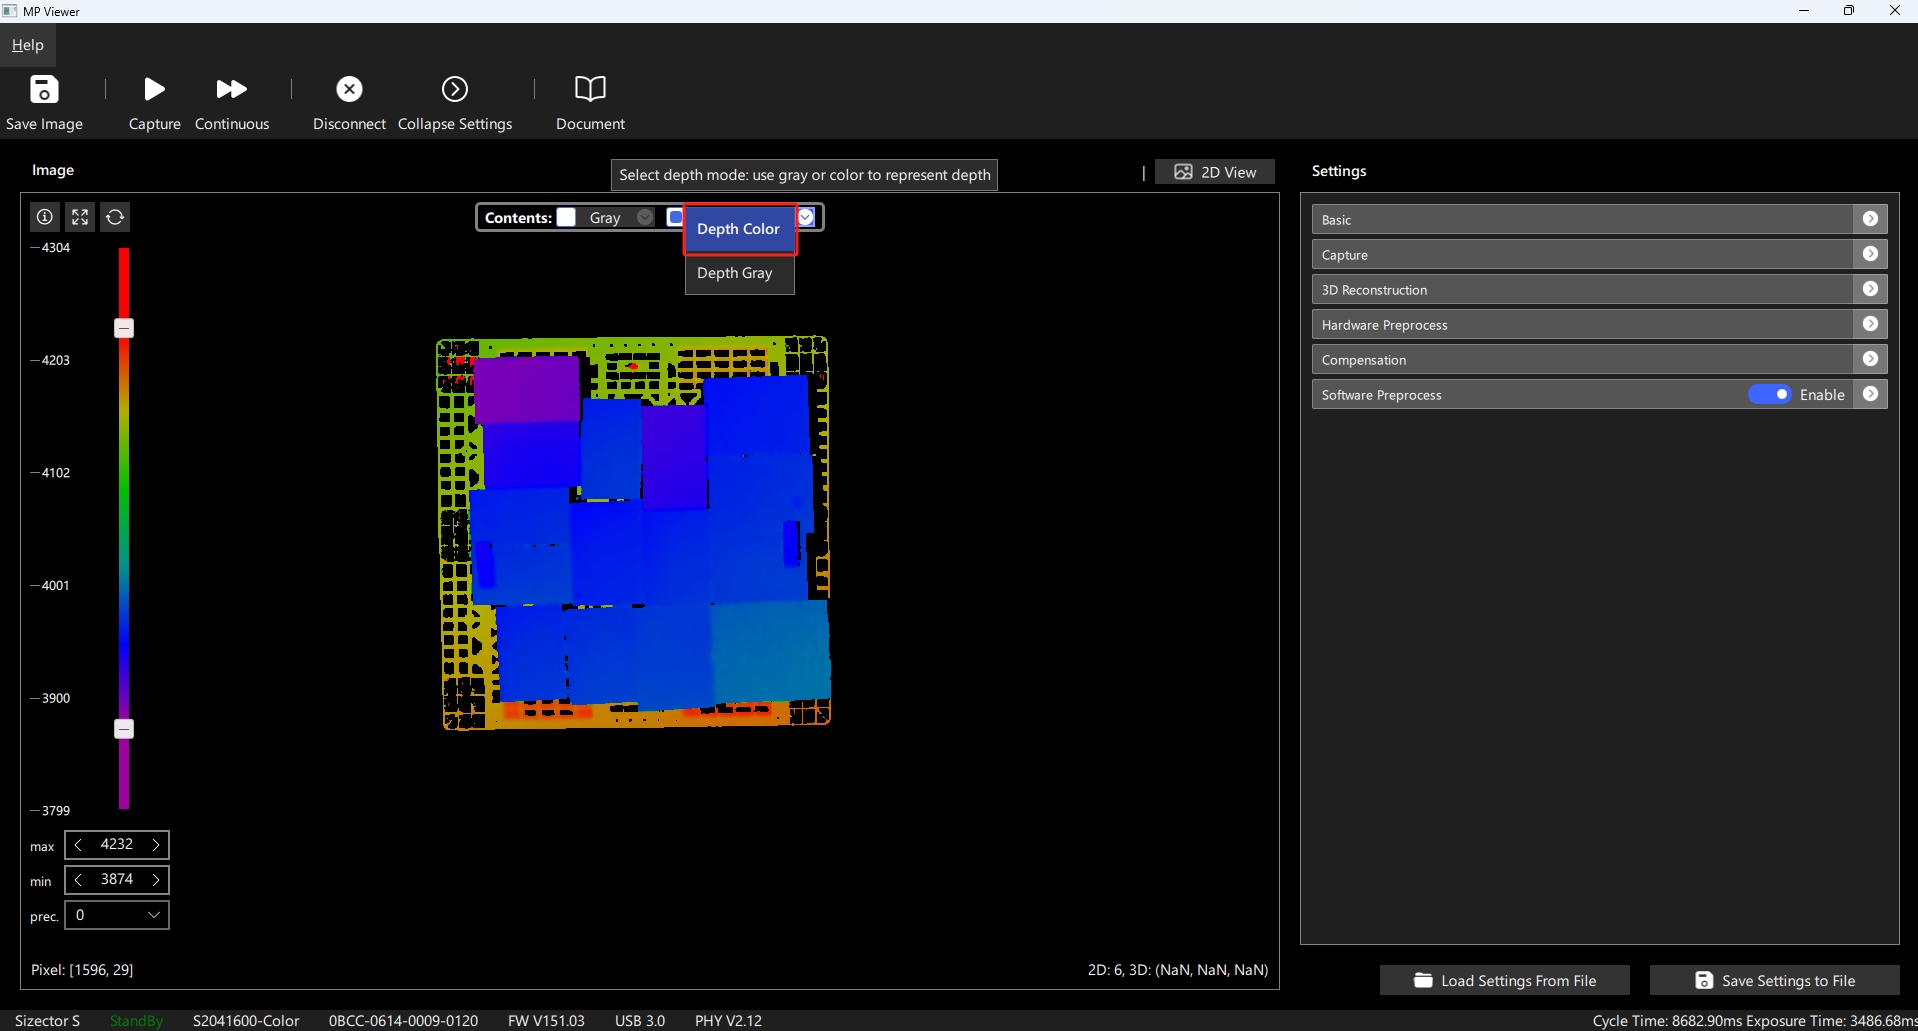 |
|---|---|
| 2D Mode - Grayscale Only | 2D Mode - Depth Colormap Only |
When data contains 3D information, switch to 3D Display Mode, which supports displaying 3D point clouds in point or surface modes; in 3D display mode, the texture mapping of the point cloud is the result of the 2D display mode, supporting separate display of grayscale, RGB, or mixed with depth colormap; the range of the colormap is controlled by the slider on the left of the control, and can be adjusted to a three-decimal precision to more finely view the 3D changes of the target area;
When in 3D mode, settings for Pickable and Thumbnail can be enabled in the bottom right corner of the display control, explained as follows:
- Pickable: Only effective when displaying surfaces, enabling Pickable shows additional three-dimensional information at the current mouse position over the 3D display model
- Thumbnail: When enabled, the 3D display will first show a simplified image before displaying the complete image, usually enabled when the display refresh speed is significantly slower than the data refresh speed, allowing faster image display refresh through the display of simplified images
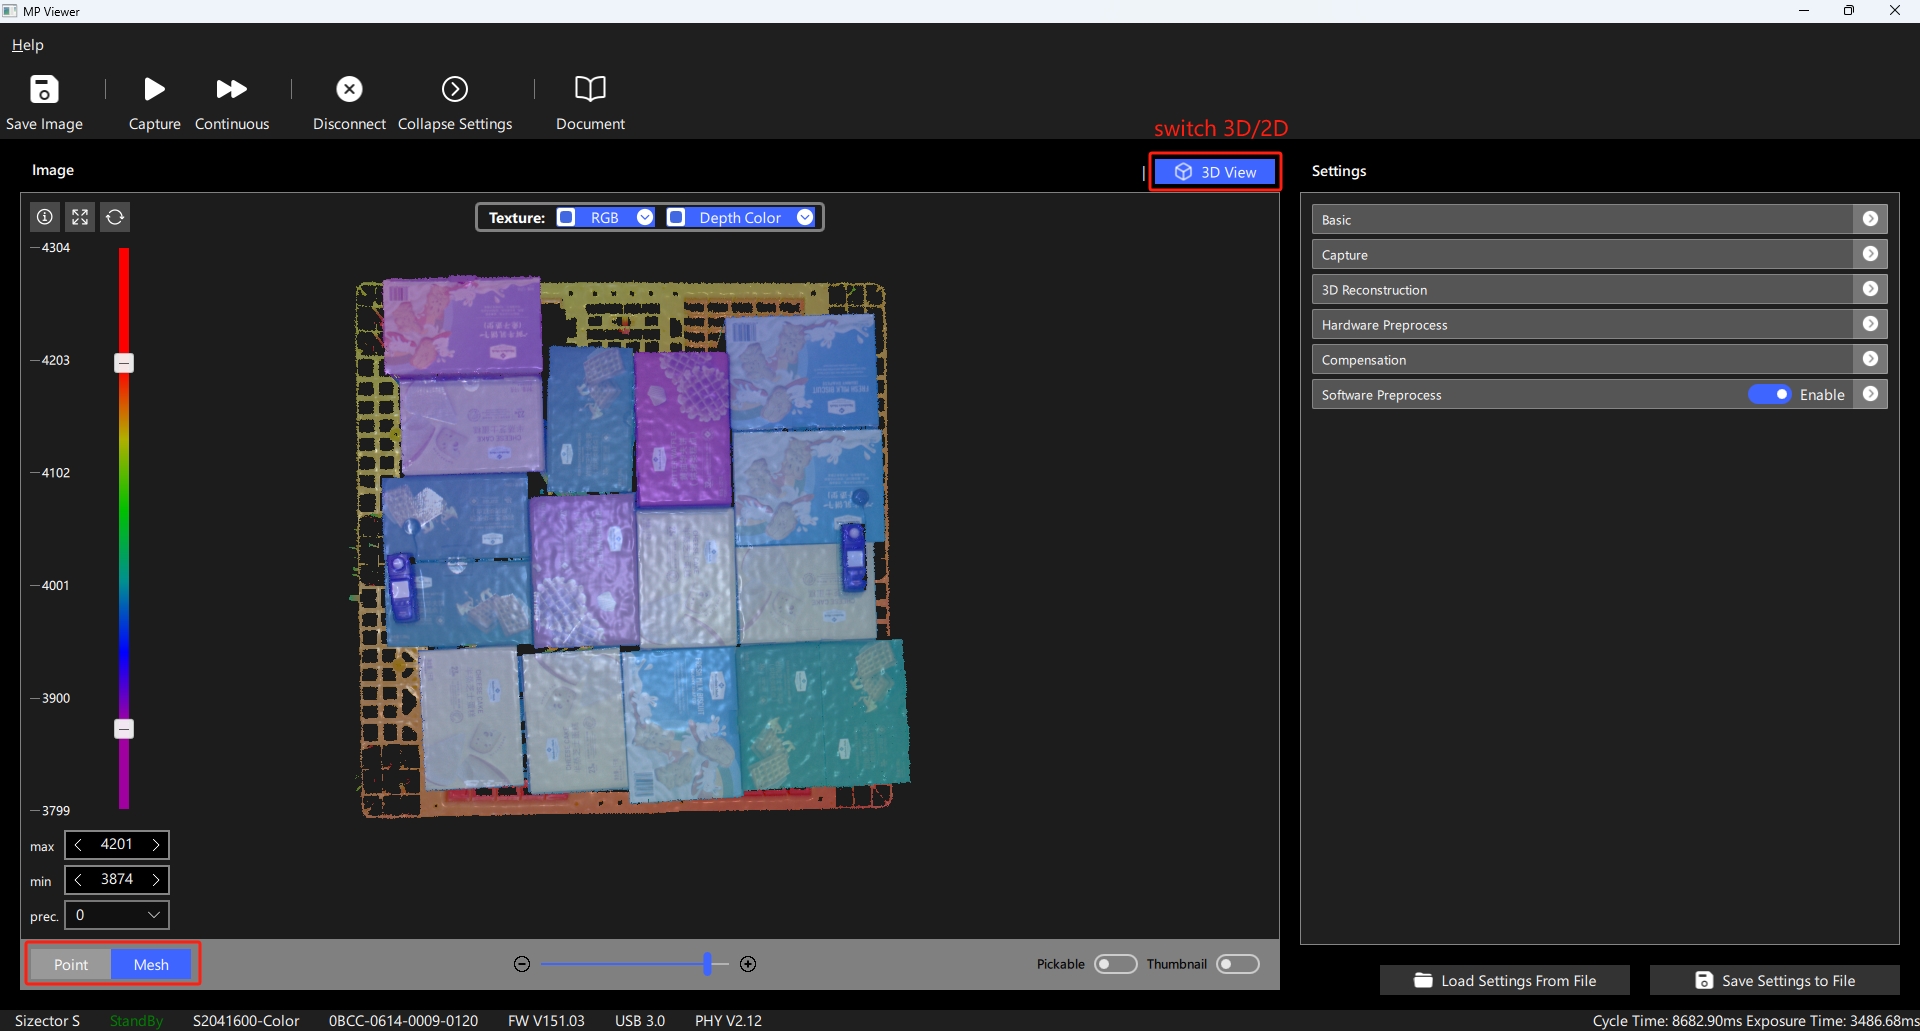
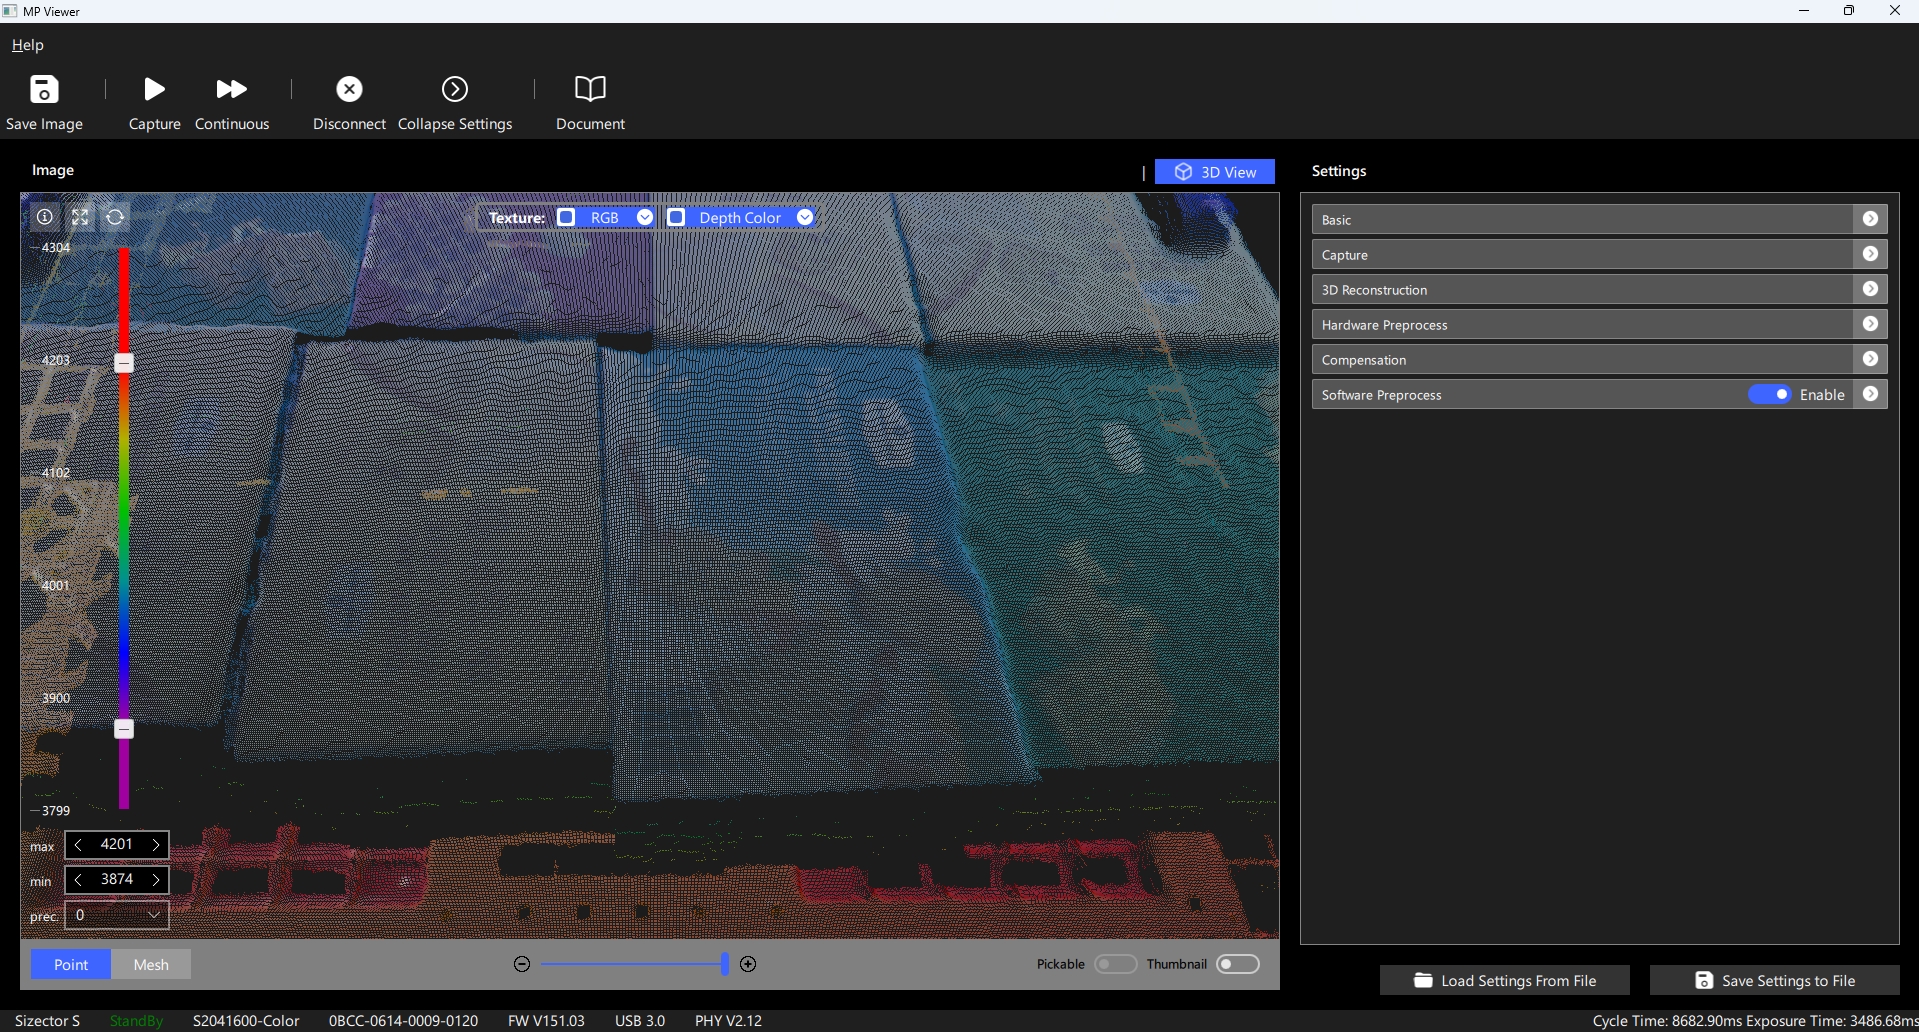 | 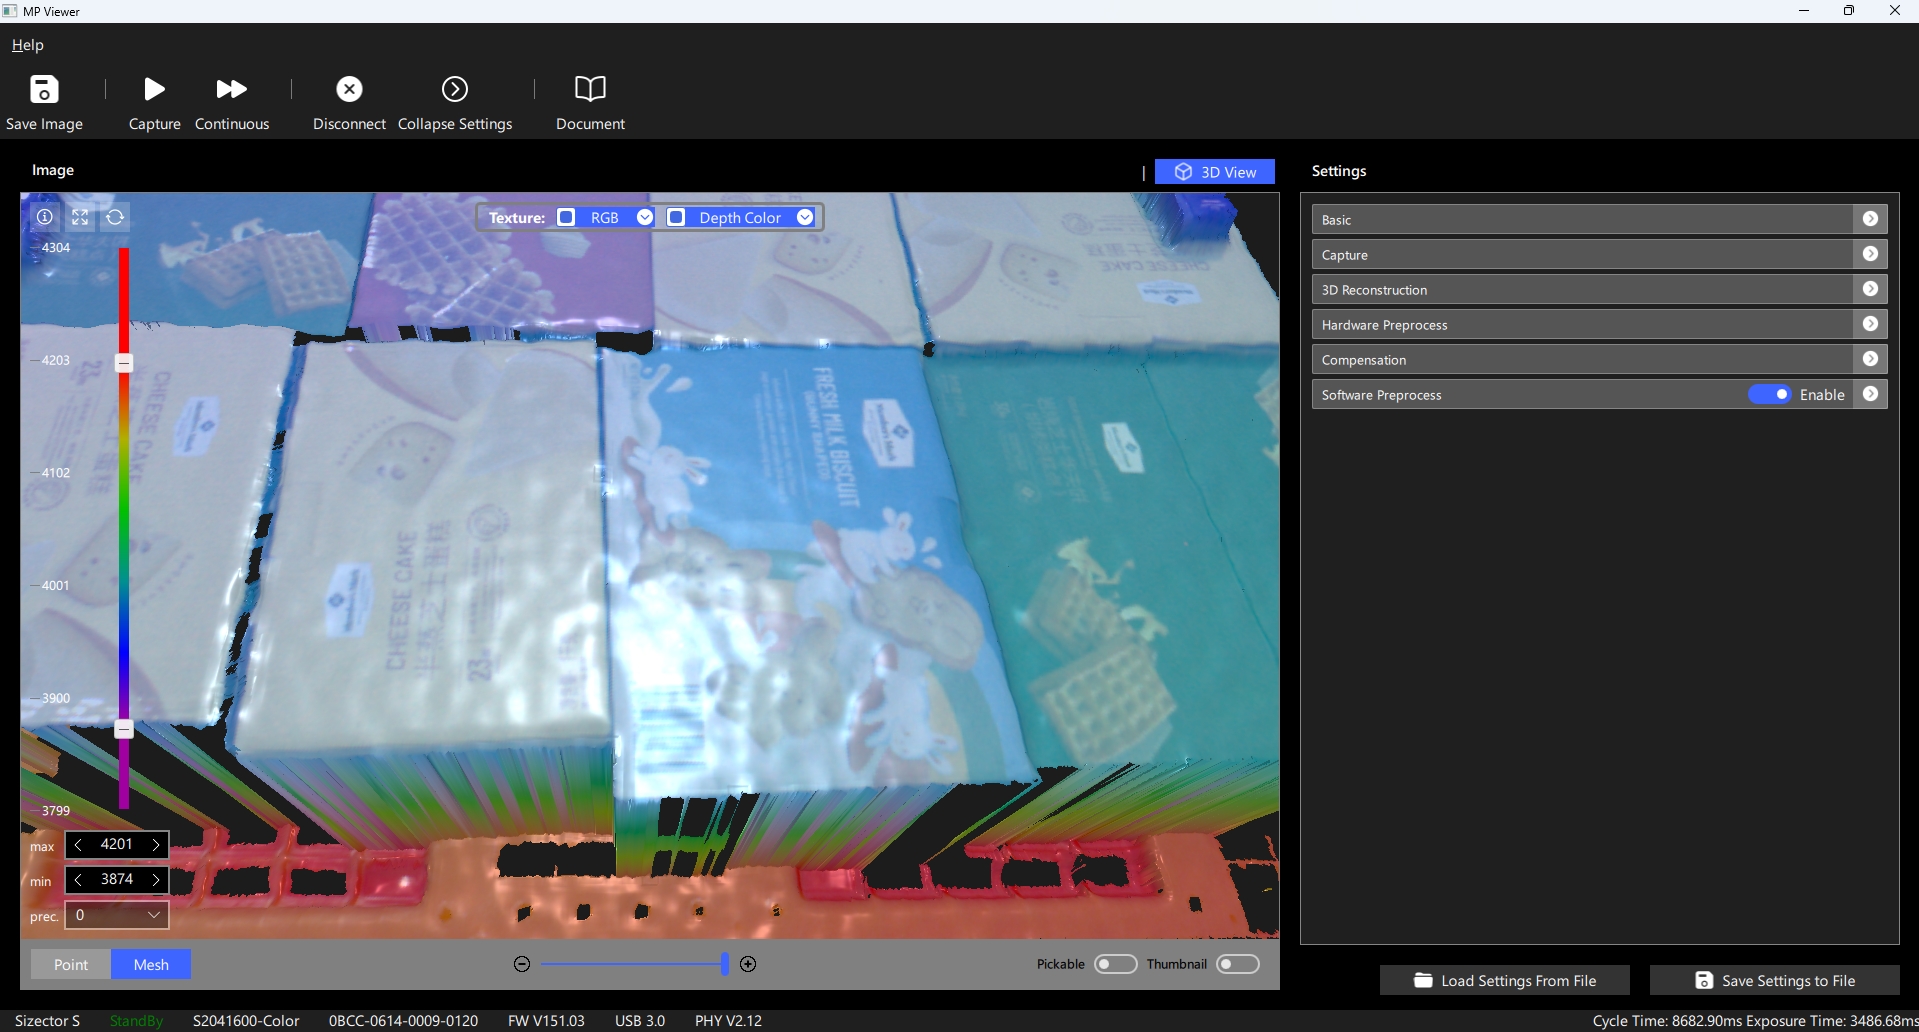 |
|---|---|
| 3D Mode - Point Display | 3D Mode - Surface Display |
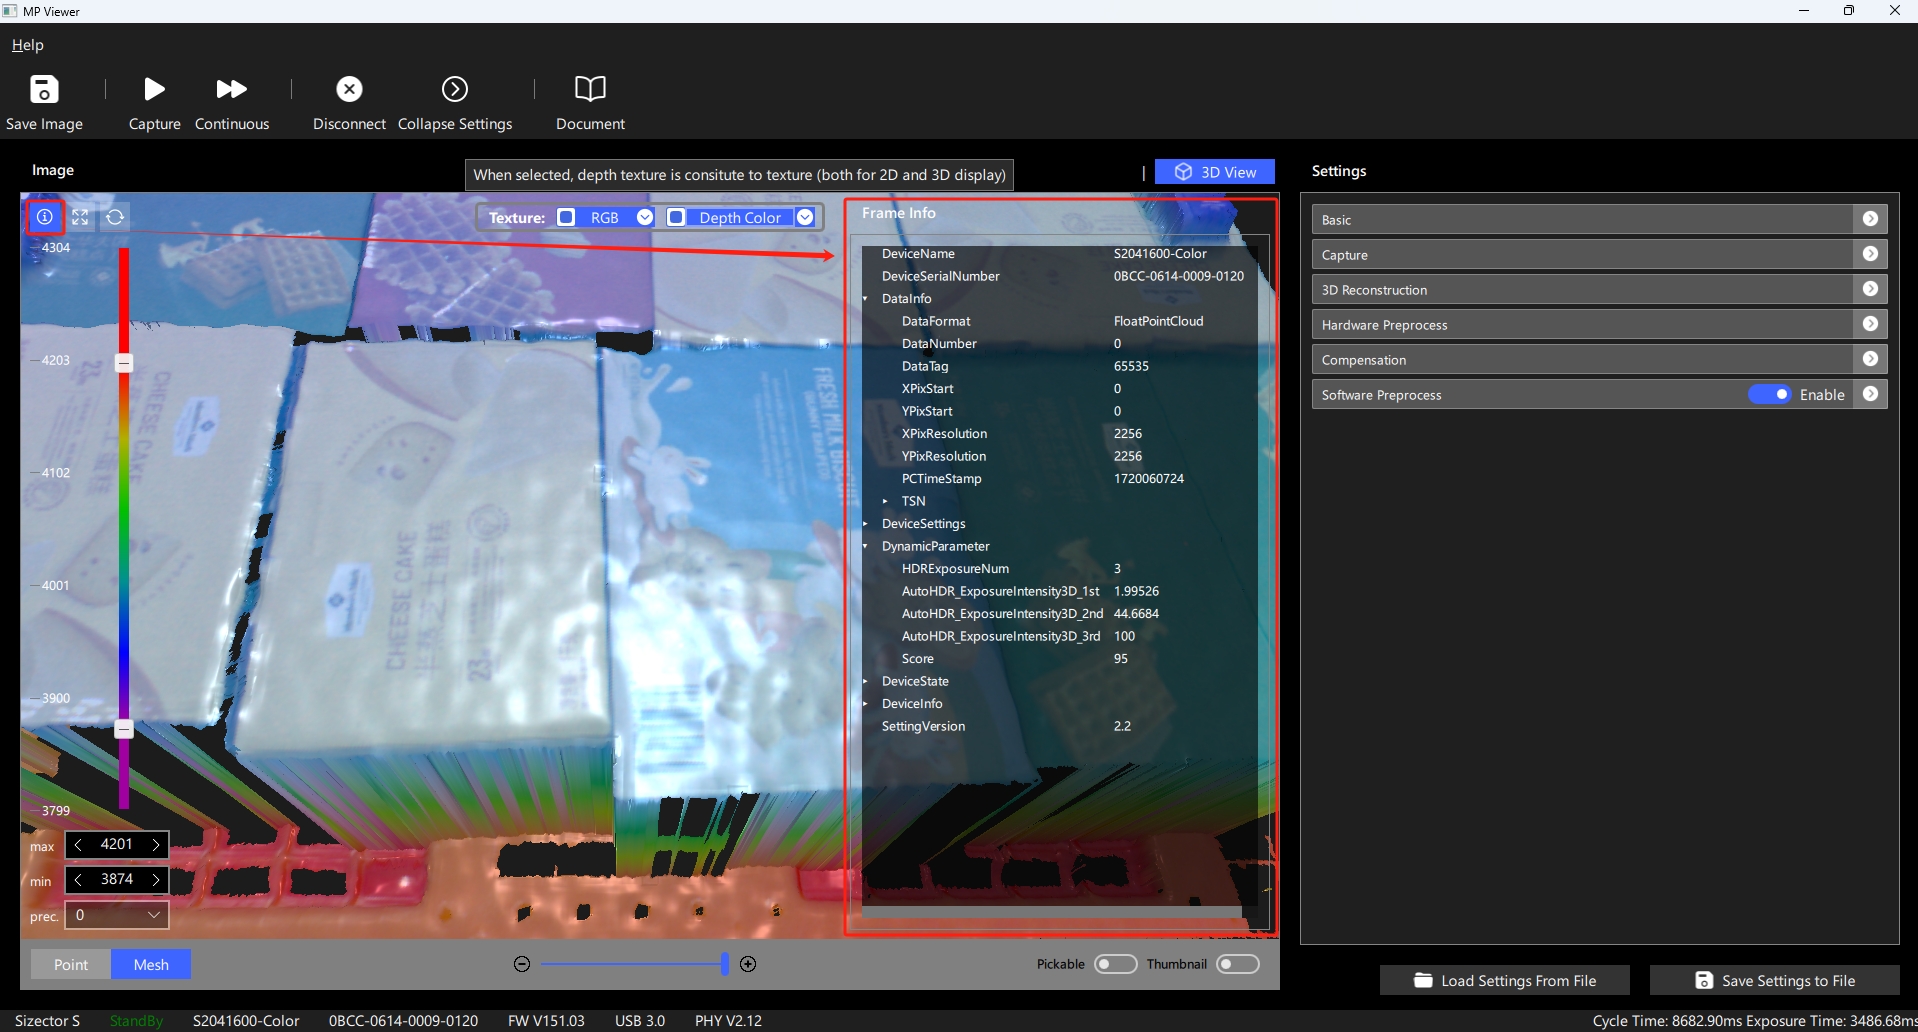
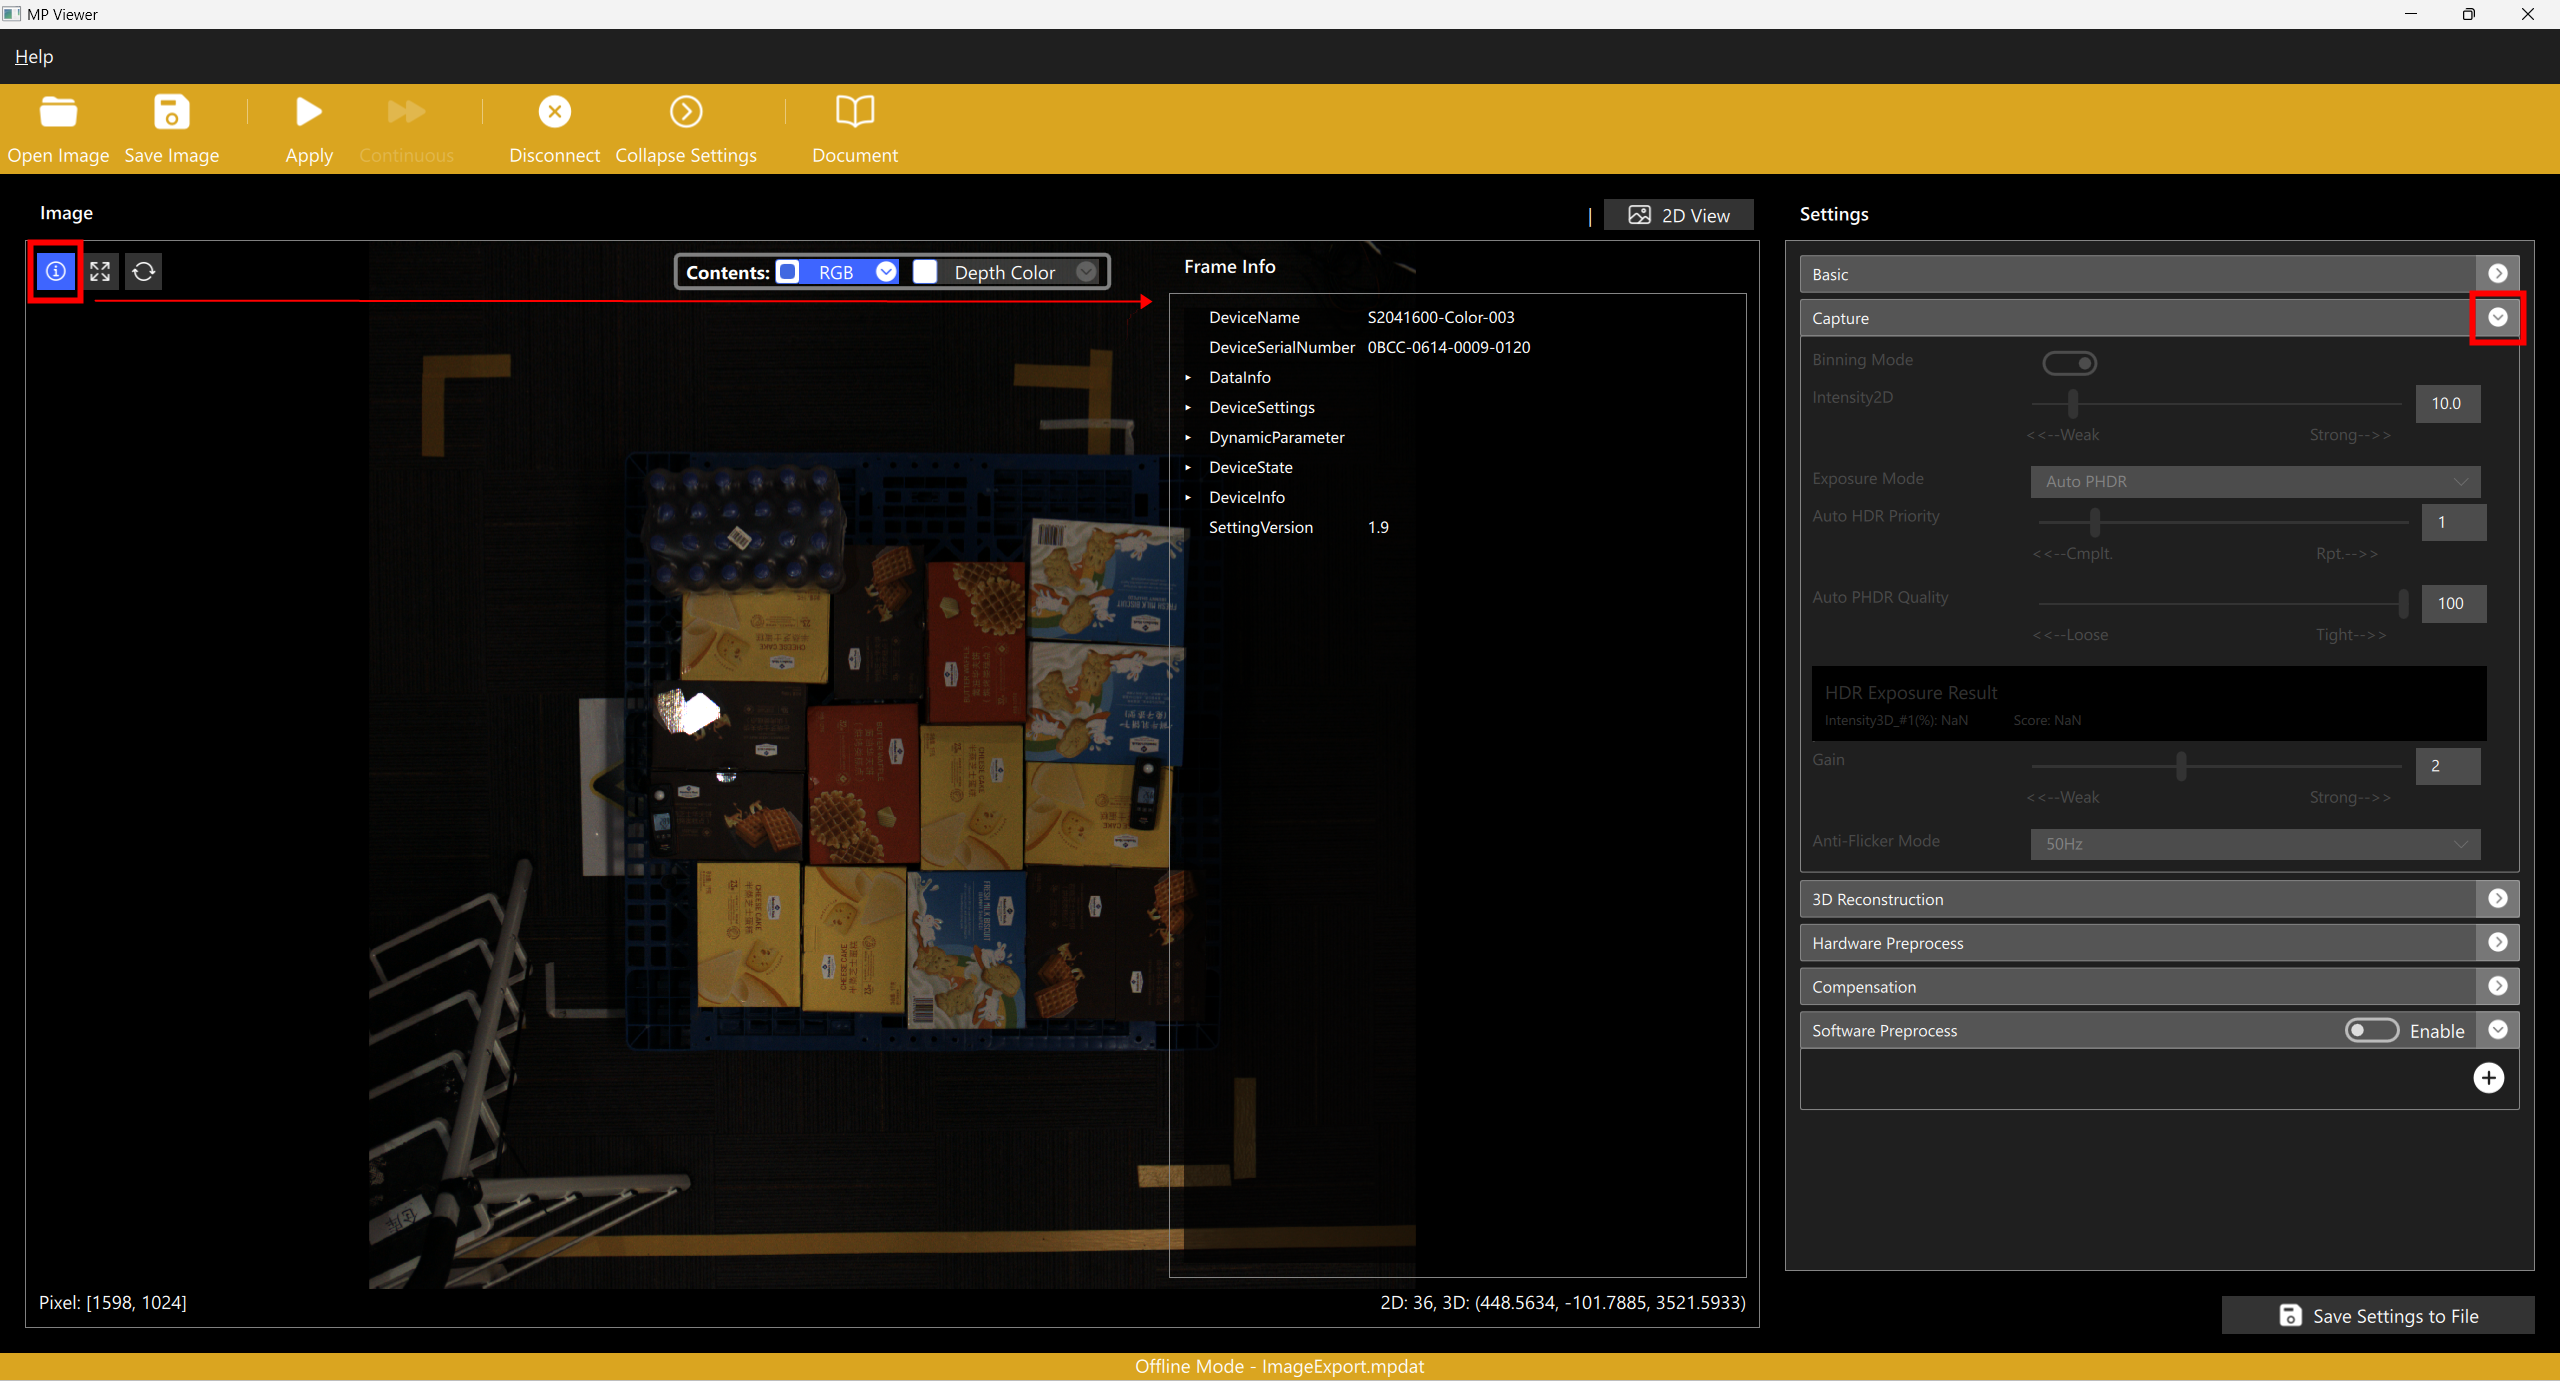
2. Frame Information
When there is data in the display controls, the ⓘ button in the top left corner of the control can be expanded or collapsed to show Frame Information, which includes all settings and camera status information at the time of data capture, available for users to check to confirm the data collection method;