Basic Settings
The basic settings include the camera's working modes.

Working Modes
This setting allows switching between different working modes of the camera, as shown in Figure 2:
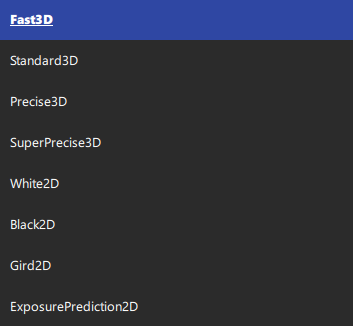
Working modes are divided into two main categories: 3D mode and 2D mode.
3D Working Modes
In 3D working modes, 3D point clouds are outputted, including the following four:
- Fast
- Standard
- Precise
- SuperPrecise
Differences between various 3D working modes are as follows in Table 1:
| Repeatability Precision | Image Completeness | Shooting Speed | System Heat Generation | |
|---|---|---|---|---|
| Fast Mode | ||||
| Standard Mode | ||||
| Precise Mode | ||||
| SuperPrecise Mode |
The higher the 3D Working mode, the better the capture effect, the longer the shooting cycle, and the greater the system heat generation. In practical projects, users should balance imaging completeness, precision, and speed according to the characteristics of the application scenario, and choose the most suitable 3D
2D Working Modes
2D working modes output 2D grayscale image data, including the following four:
-
White
The White lighting mode captures 2D images when the projection light source projects a fully white image. This image is suitable for 2D detection where light source requirements are not strict (the 3D operating mode's output also includes 2D images, identical to those in White lighting mode). Note that due to the angle between the projection light source and the camera, and because the light source is not parallel, the White lighting mode 2D images have uneven brightness and shadows.
-
Black
In Black mode, the camera itself does not project light, and ideal lighting effects can be achieved with external light sources.
-
Grid
The Grid projection mode can be used for rough adjustment of object distance during testing. Similar to the White lighting mode, this mode projects a grid image with a central crossline instead of a fully white image.
-
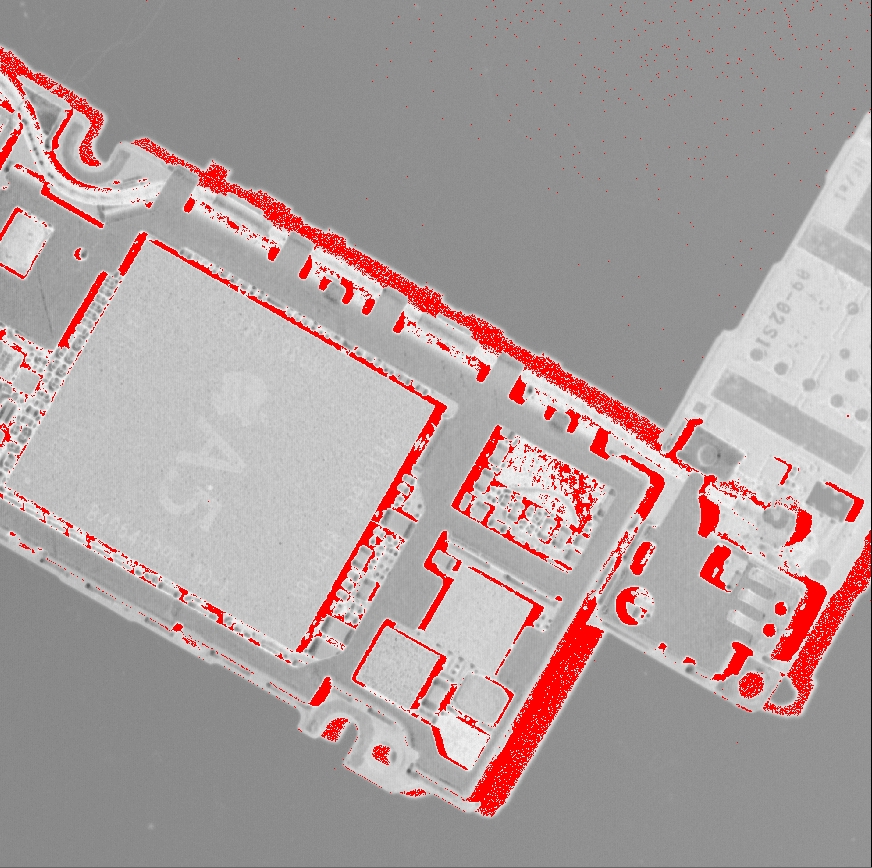
Exposure Prediction
The Exposure Prediction mode captures an exposure prediction map, where each pixel's value indicates the exposure intensity required at that pixel's location to achieve optimal imaging results. The exposure prediction map is shown in Figure 3: